If you’ve been researching about traveling to Japan, there’s no doubt your social media feeds are filled with packing tips. Common themes include “bring an empty suitcase for souvenirs”, “use a luggage transport service to avoid dealing with large suitcases on public transportation”, etc. We won’t dispute that those are great tips BUT they don’t apply to everyone. It really comes down to what type of traveler you are and how long you’ll be traveling.
If you’re planning on doing a lot of shopping, can’t live without multiple outfit options, and don’t plan on doing laundry during an extended trip this article probably isn’t for you. If you’re fine doing some quick laundry, wearing outfits multiple times and are okay with only buying souvenirs that you can Tetris pack in your carry-on, this post is for you!
The great debate: carry-on or check a bag
Again, there is no ‘right’ answer. You have to go with the option that fits your personality. Do what’s right for you. We’re team carry-on because:
- We don’t mind wearing the same outfit more than once and doing laundry during our trip. Scott makes sure to find hotels with laundry facilities in the middle of our trips. Typically, you only need a 2-hour block of time unless you’re fighting the crowds for a washer/dryer. We use this time to decompress in our room or if we do have to go to a laundromat, we read or play on our phones. We’ve also been slowly switching over to a capsule wardrobe filled with merino wool items that are great for travel and can be quickly hand-washed and dry overnight.
- We rarely take direct flights and don’t want to have the stress of our bags not making a connection if there are delays. Sure, worst case, you buy some clothes at your destination or pack a spare set in your personal item, but we often leave the city we fly into and don’t have a lot of time in our itinerary to wait for bags that may take a day or two to arrive.
Almost 10 years ago, Scott purchased this Amazon Basics set. I was a traveling consultant at the time and was hesitant that his ‘bargain’ buy would actually stand up to my trusty Travelpro brand that I had been using almost every other week for years. You get what you paid for right? Turns out, Scott found a winner (this time haha). I eventually bought the carry-on size as well and we’ve used these ever since. They are durable, lightweight, and budget-friendly. Full disclaimer, don’t try to carry this with the handle extended when it’s packed to the max. Over time, the handle will get a little tricky to collapse if you do (but it still works with a little patience).
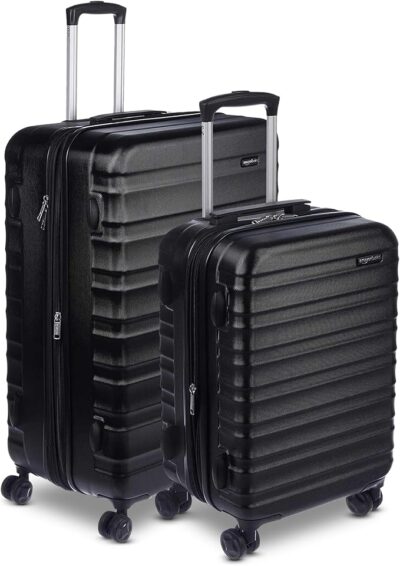
Amazon Basics Luggage (photo credit amazon.com)
What bags did we use for a 23-day trip to Japan?
We knew that we were changing hotels way too many times (11 to be exact) to consider checking a bag. Too many train stations (a few times at rush hour) and the luggage service wouldn’t have been quick enough to get to some of the locations before we were leaving again. Carry-ons were a given, but which kind? I have back issues from time to time and was hesitant to carry a backpack knowing how heavy I would pack it. After going back and forth, we decided that backpacks were likely the better option. We have Osprey backpacks, but they are a little oversized. Since we were taking a small plane on our quick flight from Seattle to Vancouver, BC, we were concerned they would force us to check them. Scott went into research mode and found some affordable ones on Amazon. They have super durable zippers, stayed dry in the rain (between stations & hotels but aren’t hiking backpacks/waterproof) and were pretty comfortable. I wish they had a hip belt to take some of the weight off my shoulders, but we weren’t walking for hours with them on, so it was completely fine.
Important note: we had a terrible time getting the right size when we ordered these. Scott ordered the L (personal item) and XL (carry-on) size for himself and a few weeks later we ordered the XL for me, and they sent the L. We sent it back and ordered the XL again and it was the XXL. We ended up keeping it as we were running out of time and even though it was a little larger than the airline allowed, we luckily didn’t have to check it.
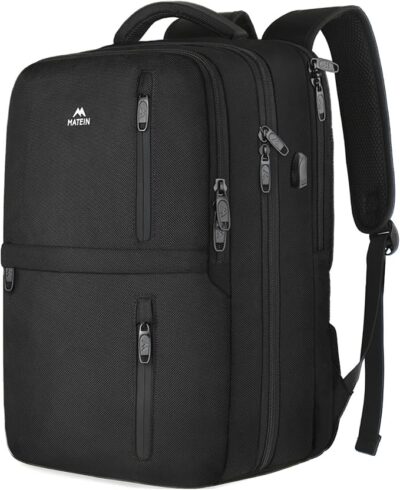
Matein Backpack (photo via amazon.com)
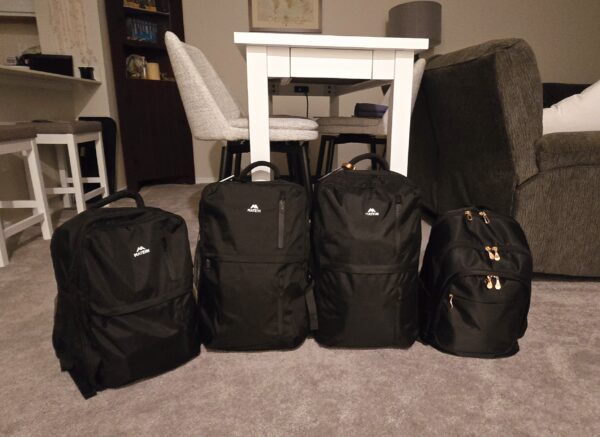
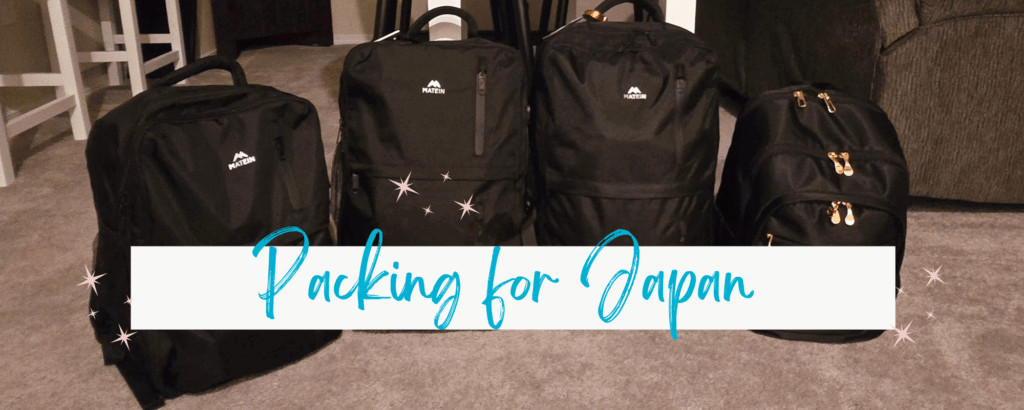
L to R: Matein L, Matein XL, Matein XXL, Light Flight laptop bag
What we did right
1. Went with the backpack instead of our suitcases – guys & girls, Japan has A LOT of stairs. While I think we would have been ok with our small hardshell carry-ons, it was definitely easier to not have to carry the suitcase beside us up the stairs in train stations. The stations are busy, and I would have felt like a rude tourist taking up too much space.
2. Invested in compression packing cubes – I was skeptical to say the least. I consider myself a great packer. I can fit a lot into my hardshell suitcase when I roll my clothes. But I knew that with a backpack and changing rooms so many times I would have been annoyed had my clothes been just lying in my backpack. These aren’t the most popular or the most affordable but had good reviews. We are really happy with these. I packed 4 pairs of pants, 3 long sleeve tees, and 4 short sleeve tees in the XL one (sometimes that included a sweatshirt and 2 pairs of jeans depending on what I was wearing). In the L one, I packed 7 pairs of underwear, a bra, 7 pairs of socks and a bathing suit. During the flight there, I used the M one for a spare set of clothes in my personal item (just in case they made me check my bag) and then used that in our daypack to keep things from falling around. I also love that they have a clean & dirty side. This meant no separate laundry bag like we usually have. The handles made it easy to use this to transport to/from the laundry rooms as well.
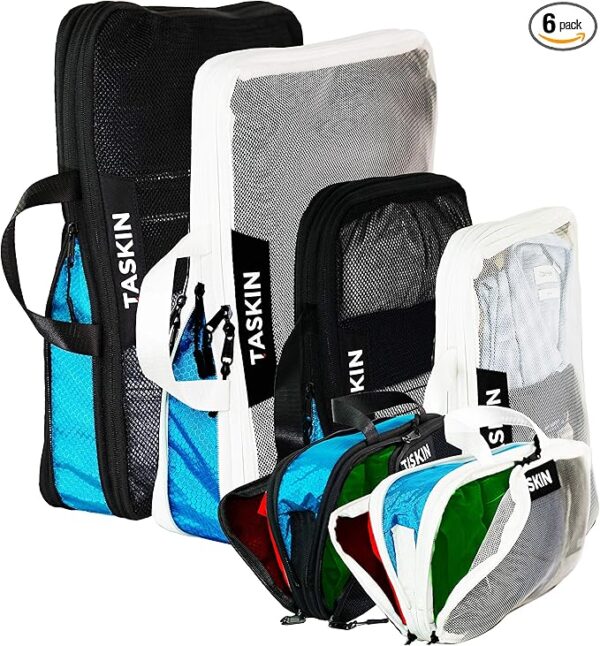
Taskin Compression Packing Cubes (screenshot via amazon.com)
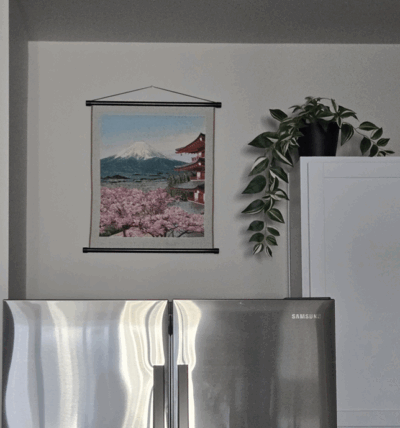
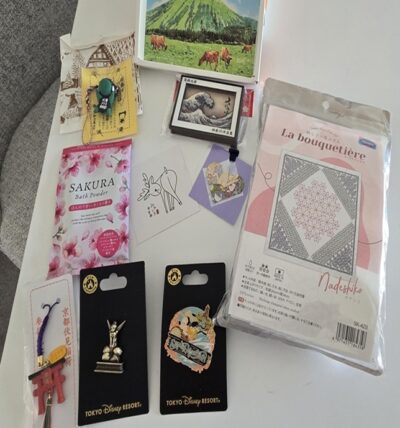
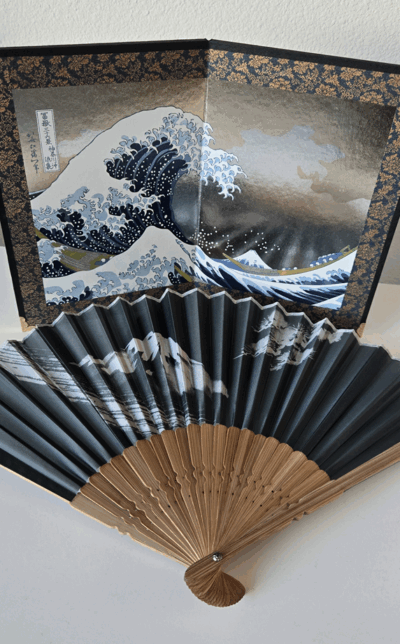
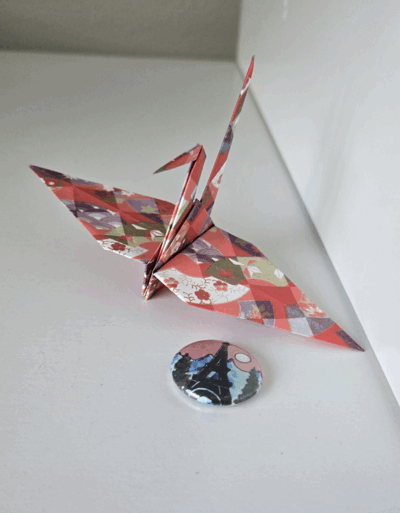
3. Bought small items as our souvenirs. To be honest, we kind of avoid shopping when we travel because A) I am by nature an impulse buyer and feel a need to buy stuff I’ll regret later and B) Scott is not a fan of shopping so it can make him grumpy. Not a good combo so we just chose not to do it on a regular basis. These were all super affordable (most under $10 USD, some free!) and easily fit in our luggage.
What we’d do different
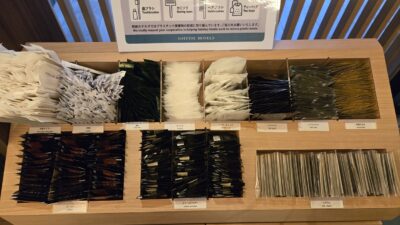
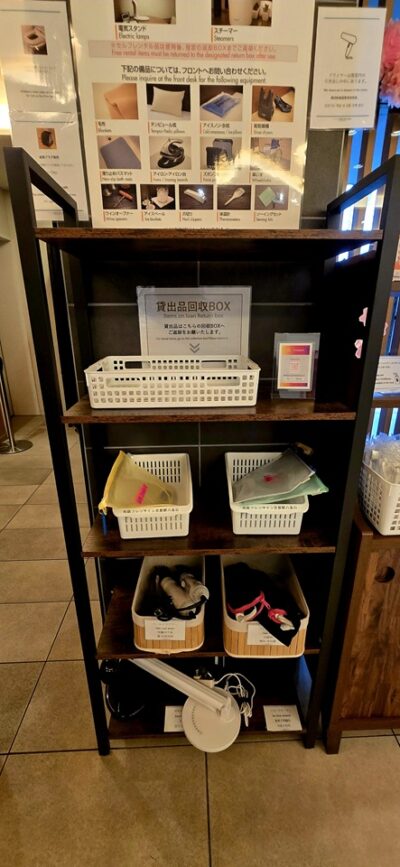
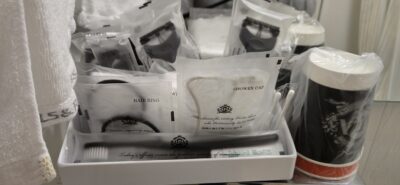
1. Leave the toiletries at home. We stayed in mid-budget hotels and every single one of them offered free toiletries either in the lobby or in your room. Some were better than others. At a minimum, they had ‘typical’ hotel things like toothbrush, toothpaste, hairbrush, razor, shower cap as well as packets of face products (wash, toner, lotion). Most also had things like face masks, hair ties, and bath salts. You could also rent (borrow? it wasn’t clear if there was a fee) things like curling irons, different types of pillows, extra blankets, etc. at some of the hotels. All of our rooms had in-shower body wash, shampoo, and conditioner as well as a hairdryer. You won’t find an iron in your room, but they are available at the front desk. I ended up using the face products every night instead of my own because they were so nice. The one thing you shouldn’t forget…deodorant! We remembered ours but have heard from friends that it is indeed quite difficult to find. It’s just not a common item for Japanese people.
2. Forget about the ‘nice’ outfit. If you’re planning on some nice dinners out it makes sense to pack accordingly but we ended up eating at very casual places and never felt the need to ‘dress up’. It was just an extra thing to carry. Note: we wouldn’t recommend wearing sandals if you plan on visiting shrines, temples, and museums. You are often required to remove your shoes, so you’ll want to be wearing socks (or at least pack a pair in your day bag).
3. Skip the laundry supplies. When we travel, I always take laundry detergent sheets, color catcher sheets, and dryer sheets. They are compact and I don’t have to worry about them leaking or exploding in my bag. The laundry machines that we encountered in Japan both in our hotel and at a laundromat, automatically dispensed the detergent during the wash cycle. There was no option to use your own (or control the water temperature). And many machines were combo wash and dry (no taking the clothes out between). So, leave your supplies at home and make sure to have some spare change (usually 100-yen coins).

Leave A Comment
You must be logged in to post a comment.