Sedona
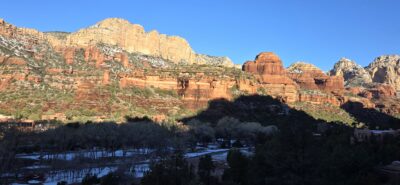
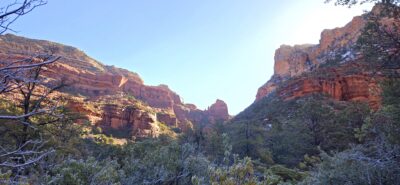
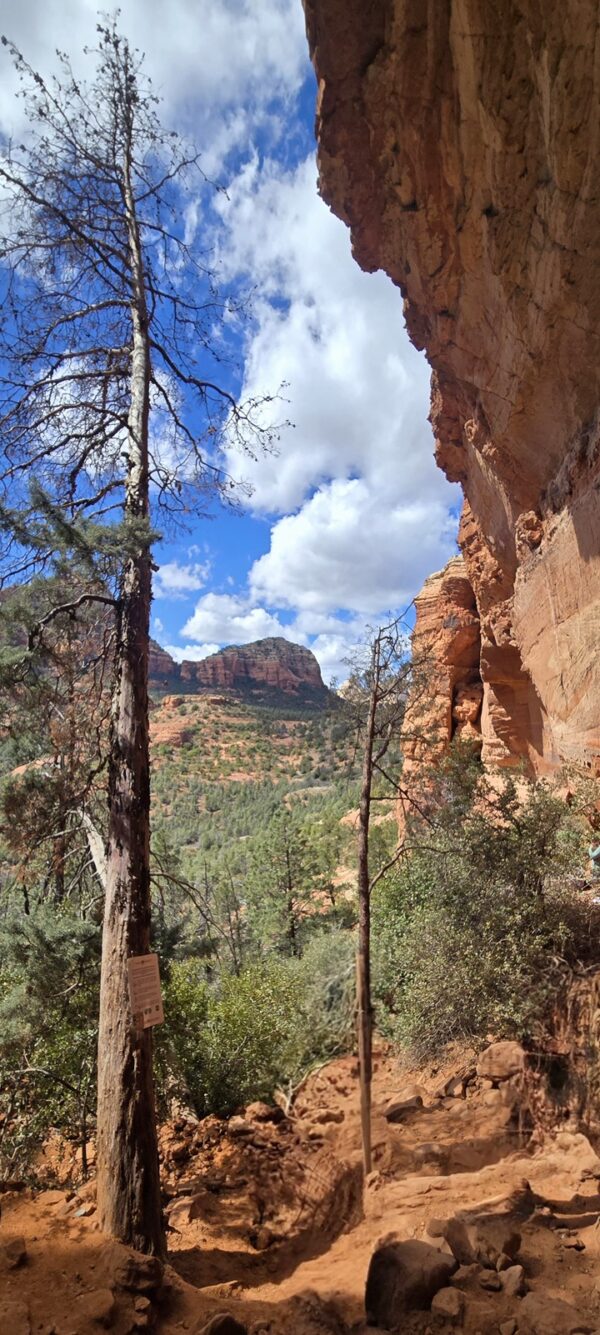
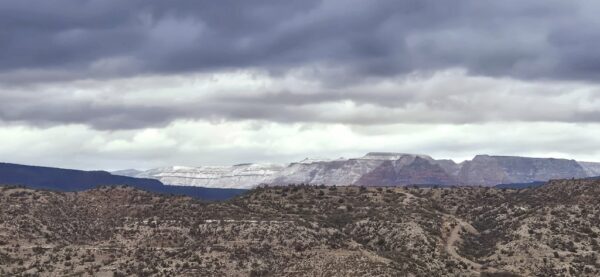
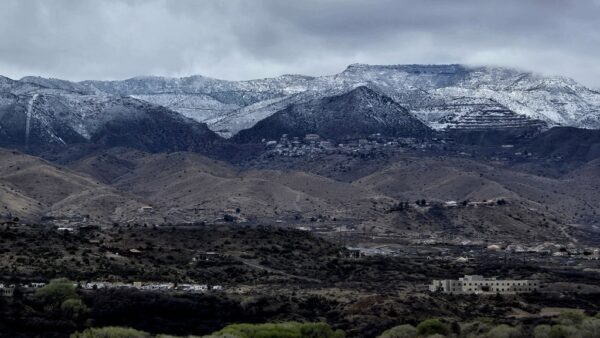
We have been to Arizona a few times in the past to visit National Parks or Phoenix for work but finally made a trip to Sedona in March 2025. We also spent some time in the surrounding areas of Phoenix, Flagstaff, and Page. We had an awesome time and would expect to visit Sedona many times in the future!
Most Recent Visit
March 2025
How to Get Here
Unless you are looking to make a longer drive from Vegas (~4.5 hours), you are likely going to be flying into Phoenix which will result in about a 2-hour drive to the heart of Sedona.
Trip Length
We did a 10-day trip in total, but 2 of those days were travel days and another 2 days were spent in the Phoenix area and seeing sites on the way up to Sedona. We also did a short-day trip to Flagstaff and a long day trip to Antelope Canyon which is something we’ve wanted to do for a while now. So, in total, we spent 4 days in the Sedona area and could have definitely spent more than that with the number of things there are to do in that area.
Where to Stay
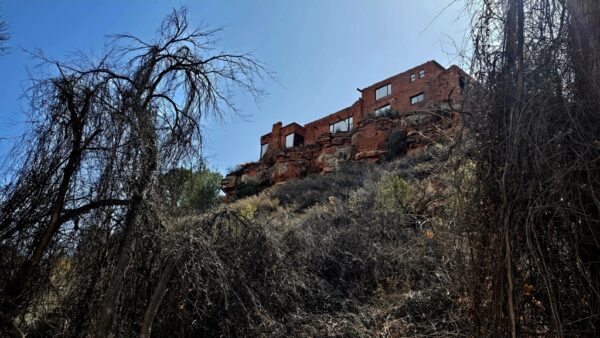
There is no shortage of hotels or Airbnb/VRBO options in the Sedona area, so you likely won’t have trouble finding a place to stay. There are areas right outside of the main Sedona area as well with hotels which would be cheaper if you are looking for a budget option. We stayed at The Ridge on Sedona Resort through a deal through Amanda’s timeshare so we are not sure what a normal night would have cost. It was good location, but we wouldn’t rate it as an amazing resort (i.e. we wouldn’t pay normal rates for this).
What to Do
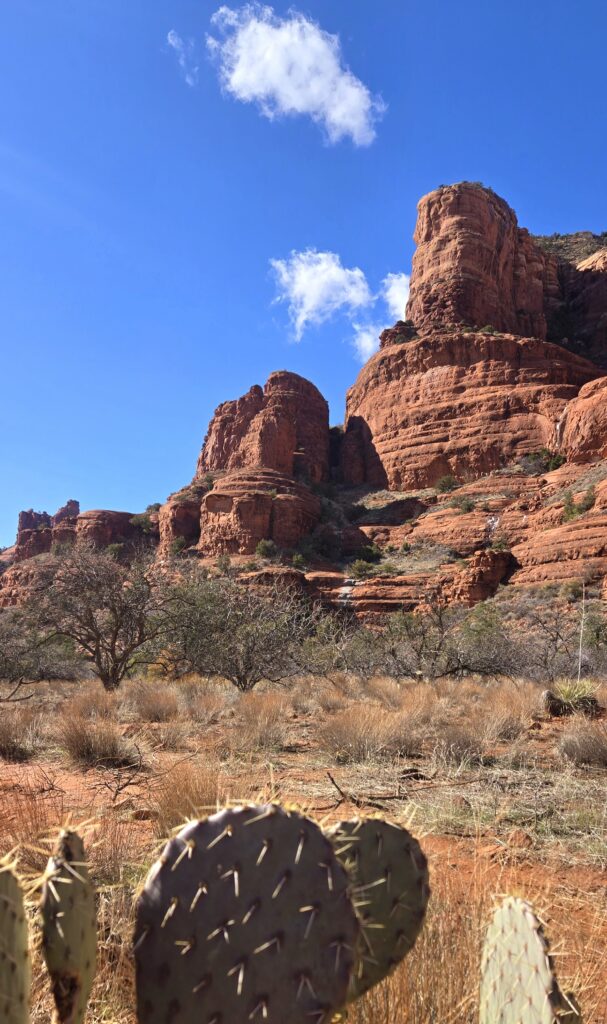
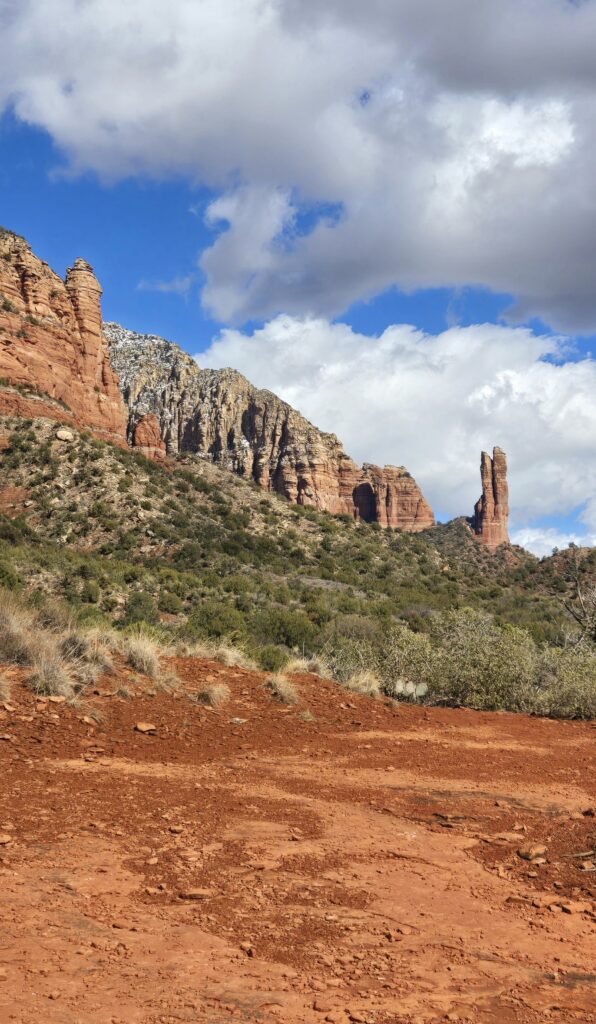
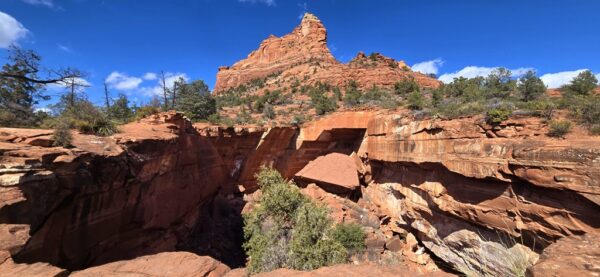
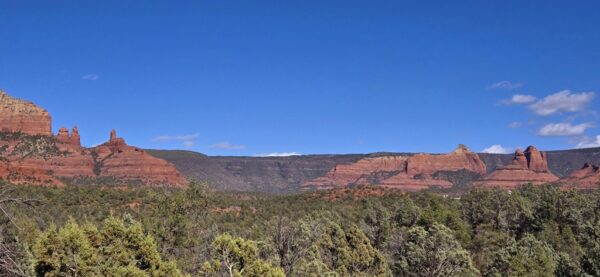
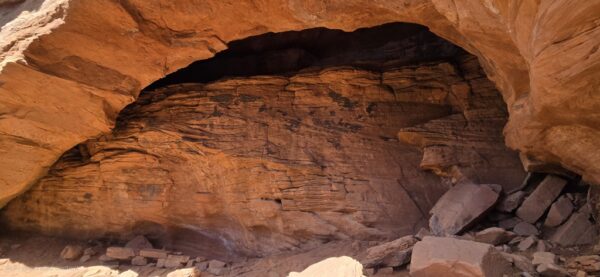
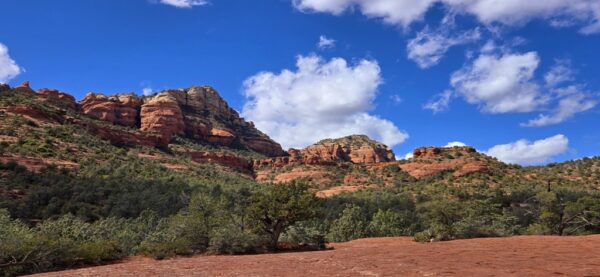
Sedona
Non-Hiking
We spent the majority of our time in Sedona hiking some of the many trails in the area. If you are looking for a more relaxing vacation, you could also come to Sedona and spend time shopping, dining, relaxing, or wine tasting. Sedona isn’t necessarily ‘budget-friendly’ but there are ways to enjoy this beautiful place without breaking the bank. As always, we pick up quick breakfast & lunch eats at the local grocery store. We also had a mini kitchen in our room, so we grabbed some pizza, pasta, salad and wine and enjoyed dinner in a few nights.
Tlaquepaque Arts & Shopping Village
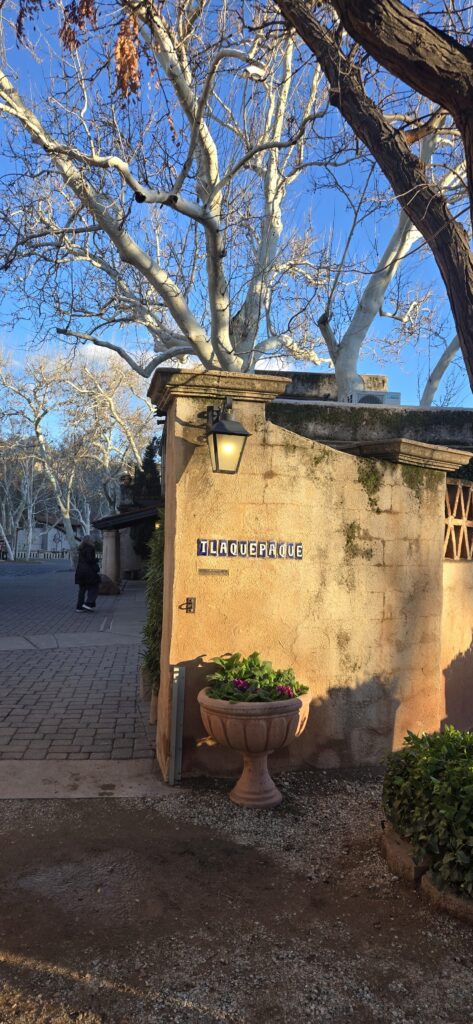
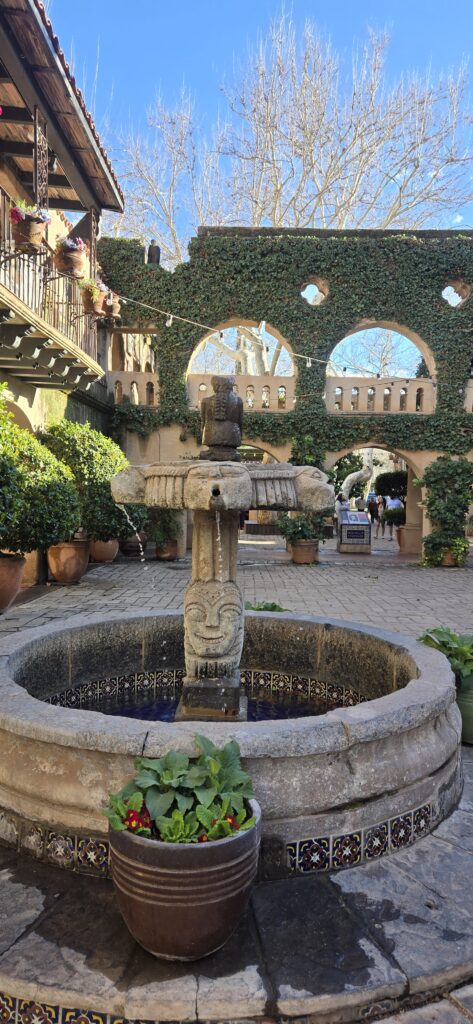
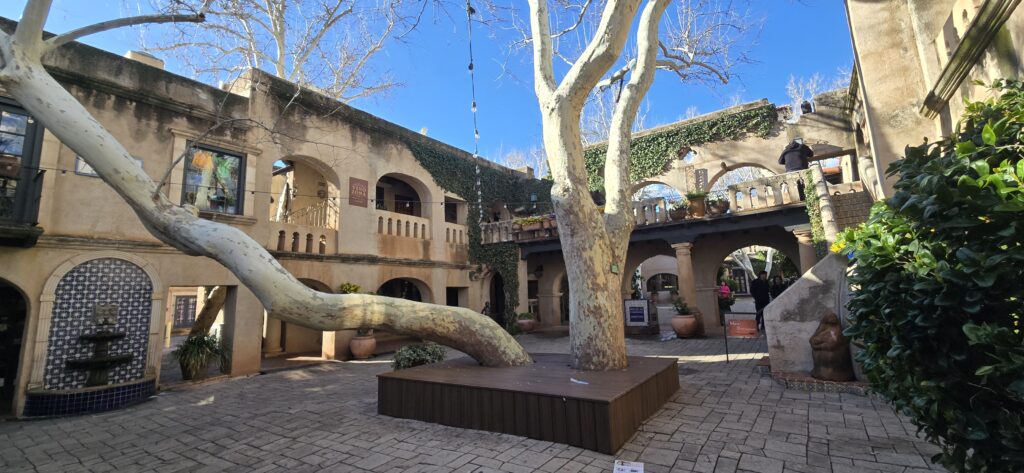
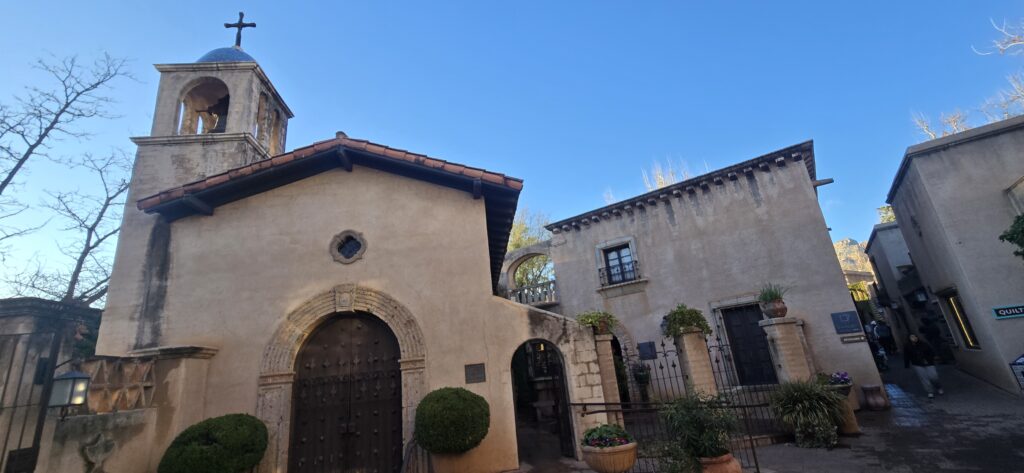
This area is a popular spot for tourists. The old buildings surround plazas with flowers, trees, and fountains, create a relaxing atmosphere to unwind (if you ignore all the other people around you). We popped into a few shops to browse but weren’t really there for shopping. There are also a few restaurants in the village. We ate lunch at El Rincon Mexican Restaurant and dinner at Oak Creek Brewery and Grill. Neither were spectacular but we enjoyed our meals at both places. While it is a busy area, there are a few parking lots spread through the complex, so parking here is a possibility. There are shops on both sides of the road with an underground throughway.
We didn’t end up having time or energy to do the wine tasting trail but plan on doing that on our next visit.
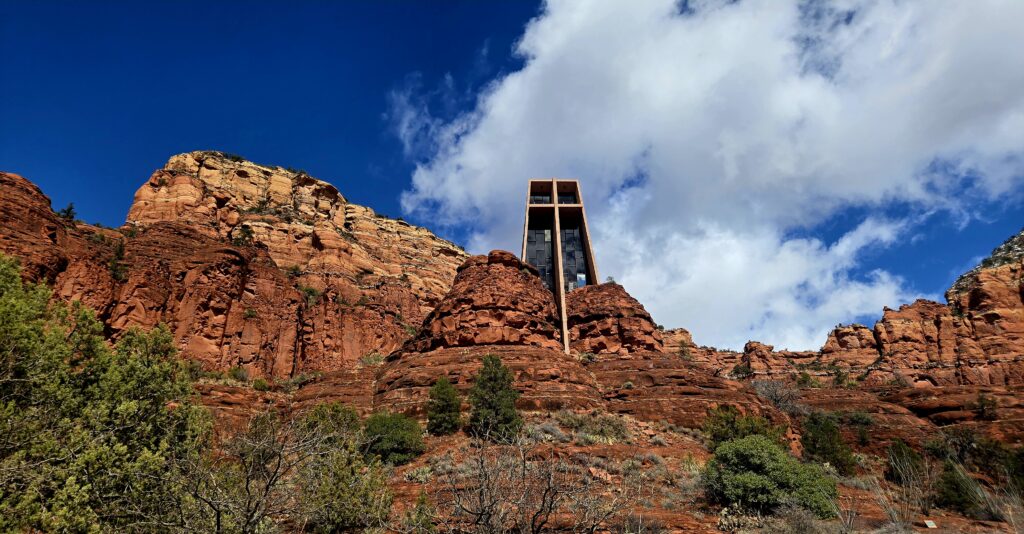
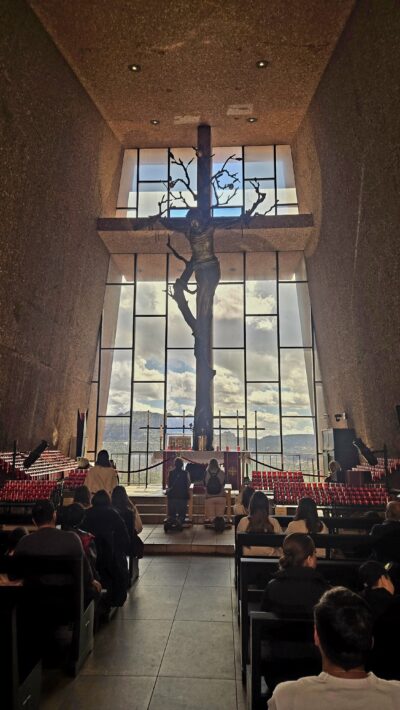
This is an Instagram famous location and therefore you likely are not going to avoid the crowds here. We got here around mid-day and had to circle around the area one time before we got extremely lucky and found a parking spot. If you park at the bottom of the hill, you’ll have somewhat of a walk up the hill to the chapel or you can ask one of the golfcart drivers for a ride. Pink Jeep Tours also have a route that stops here as we saw them dropping guests off. The views from the chapel are stunning though. You can also walk into the chapel to see the view from the inside. The more famous shot is from the bottom of the hill where you can capture the chapel with the red rocks in the background. There is a reason it is so popular!
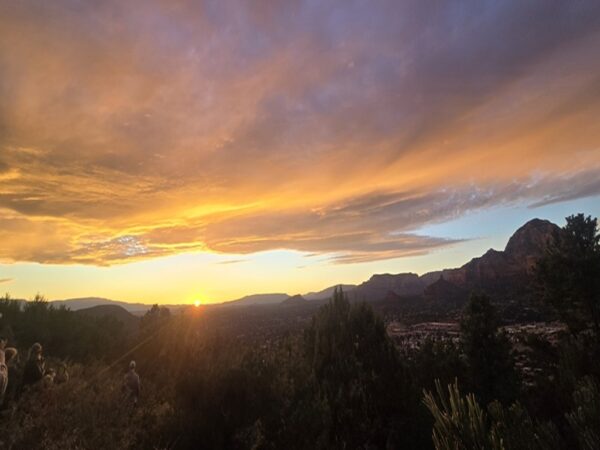
This is a must do for your time in Sedona. There is a short hike (less than a mile RT) at Airport Mesa which could give you a decent sunset photo as well – but we’d recommend just getting to the very large parking lot 20-30 minutes before sunset which will cost you $3 per car (in 2025) allowing you to walk across the road to the overlook and find a spot to take some photos. It is very crowded, as most things are in Sedona, but we found an unoccupied spot in the front and were able to get some great photos of the sun setting. It felt like you had a better overall view of the area while the sun was setting here than you would have had at the top of the hike (though likely fewer people on the hike).
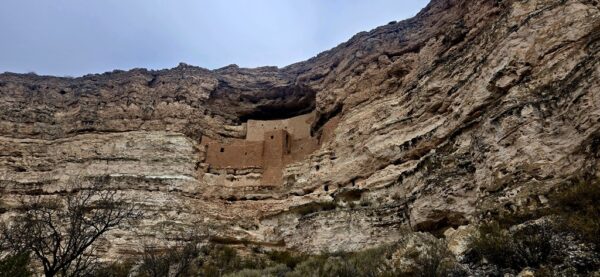
On one of our mornings in Sedona, we headed out to Montezuma Castle National Monument which is about 45 minutes from Sedona. This is a two-unit national monument: Montezuma Castle and Montezuma Well.
Montezuma Castle
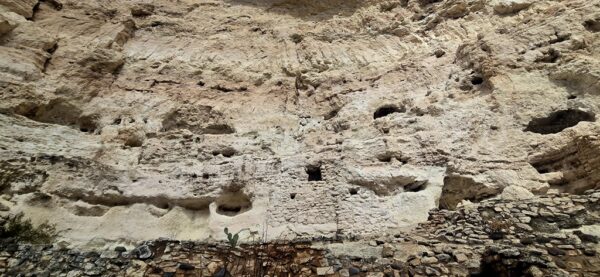
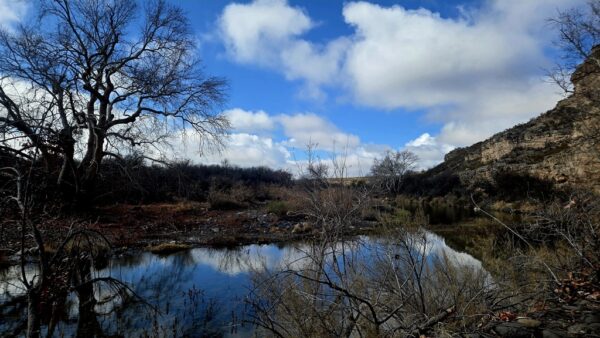
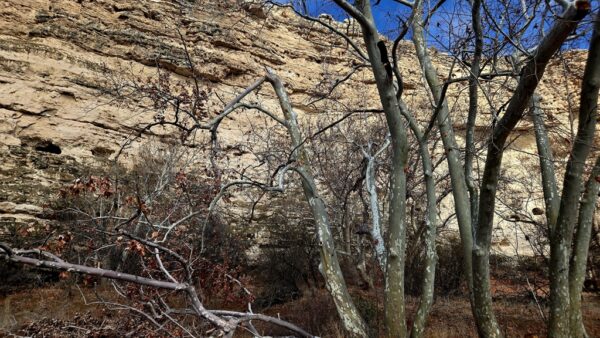
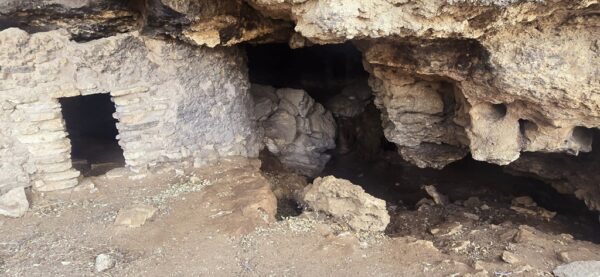
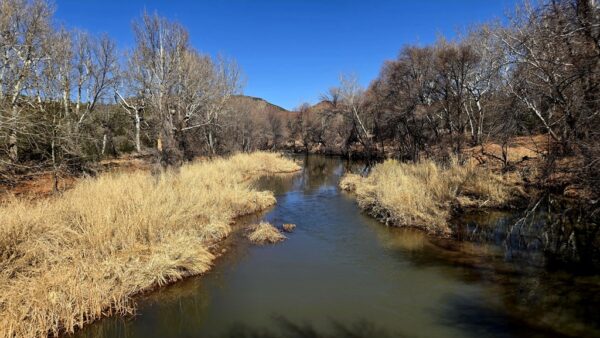
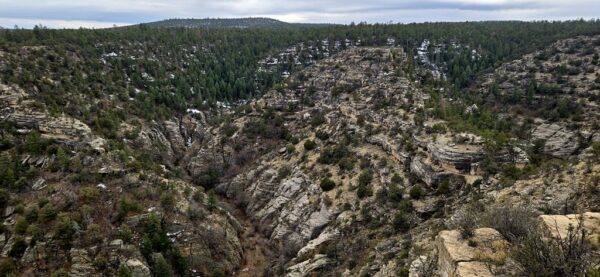
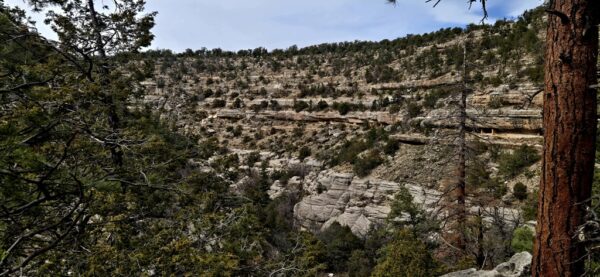
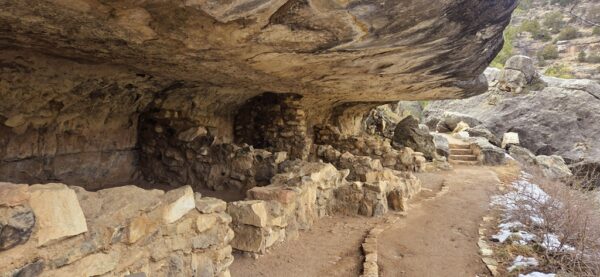
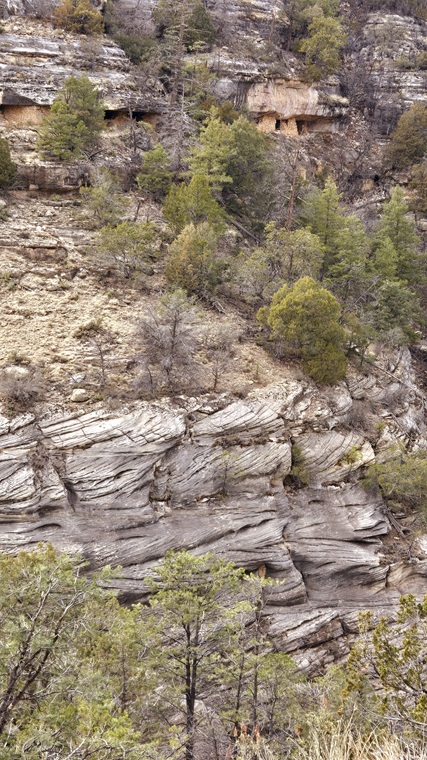
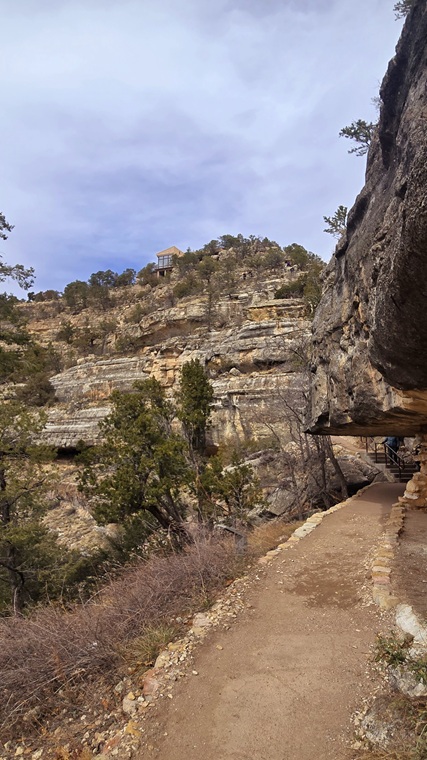
Montezuma Castle is a 20 unit apartment cliff dwelling which is fairly well preserved. You can’t climb up into the cliff dwelling anymore, but you can get a pretty good view from the walkway below. You’ll also see the remains of another cliff dwelling a little further along the walkway and you’ll get a lot of white sycamore tree views as they were literally everywhere! You can also walk out to the river which provides some scenic views as well and also visit the Visitor Center for some informative exhibits. Once you are done here, you hop back in your car and head over to Montezuma Well.
Montezuma Well
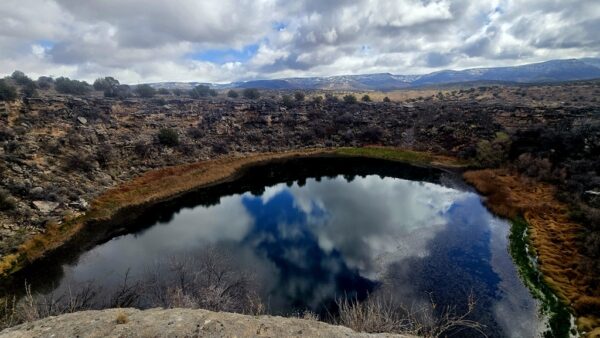
There is a one-way loop trail out to the well which is fairly short. The well is pretty stunning itself, but you can also get some great views of the surrounding mountains. You will NOT want to get in the water though. Besides it being prohibited to do so, it is also full of leeches, so it would not be a very pleasant experience for you. The trail continues on after the well down to the river where you can see the irrigation system the Native Americans built which was very advanced for those days.
Hiking
Courthouse Butte & Bell Rock Loop Trail (3.6 miles RT, ~350 feet)
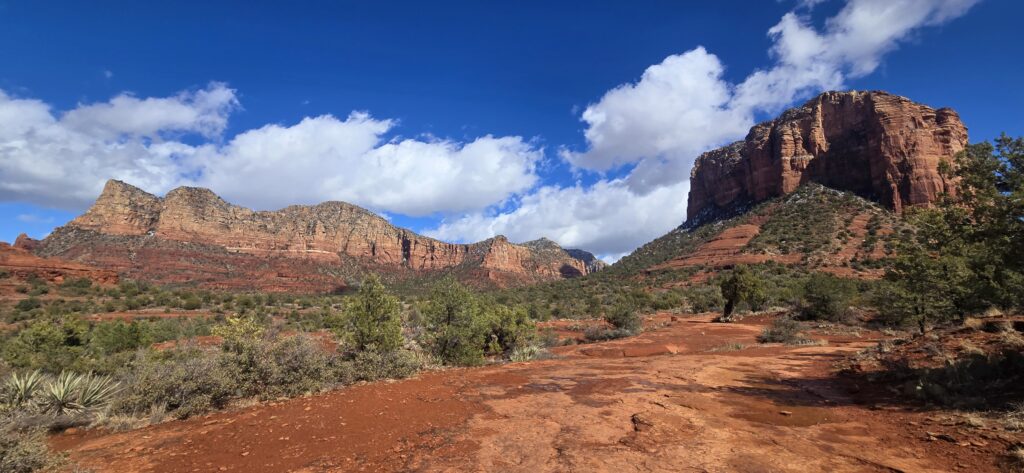
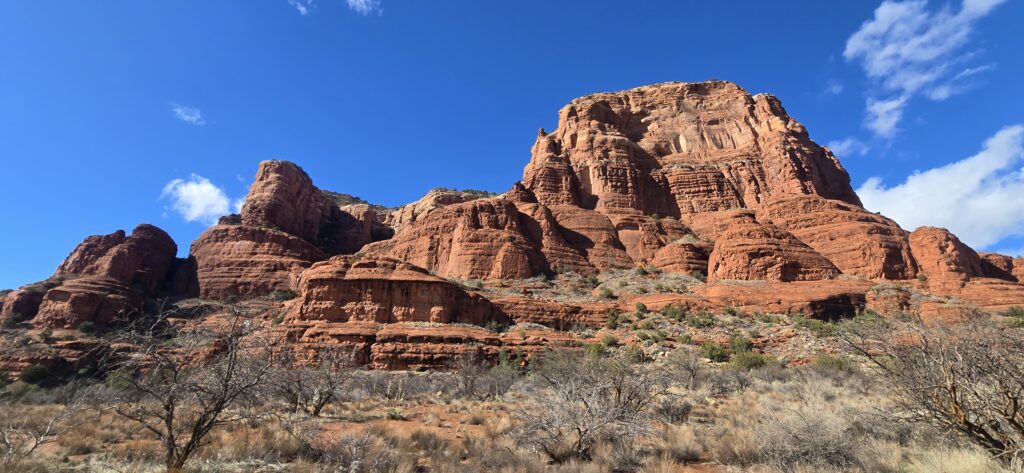
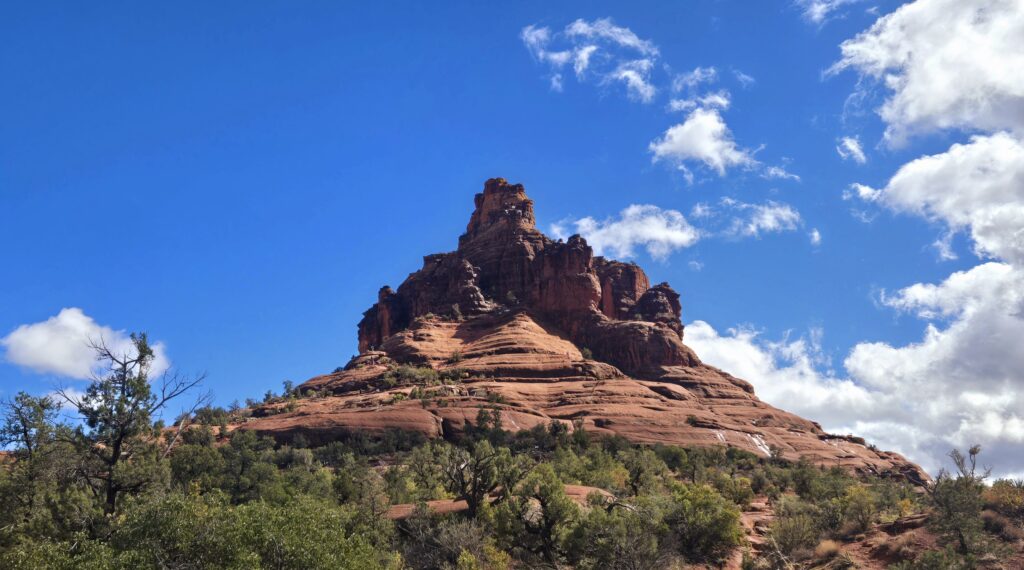
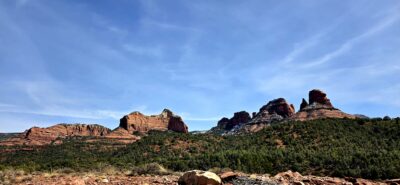
After circling the parking lot about six times, we finally were able to park the car and get out on the trail! This is one of the popular trailheads that does not have a shuttle, so you will want to get here earlier in the day to avoid the worst parking chaos. It is not a difficult hike at all with only 350 feet of elevation throughout and that was spread fairly well over the course of the hike. You will get great views of both Courthouse Butte and Bell Rock and also great views of the surrounding area. If you want, you can also climb up onto Bell Rock to get to the Bell Rock Vortex if you are in to that sort of thing (we are not).
Boynton Canyon Trail – 6.6 miles RT, ~930 feet (excluding the not-so-secret turnoff to Subway Cave)
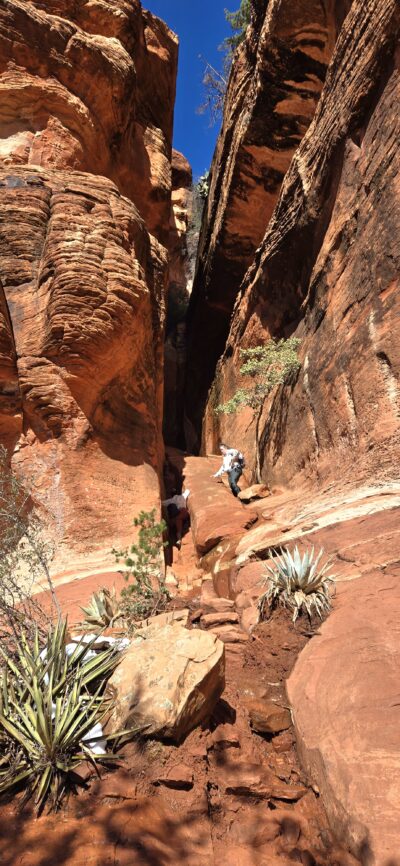
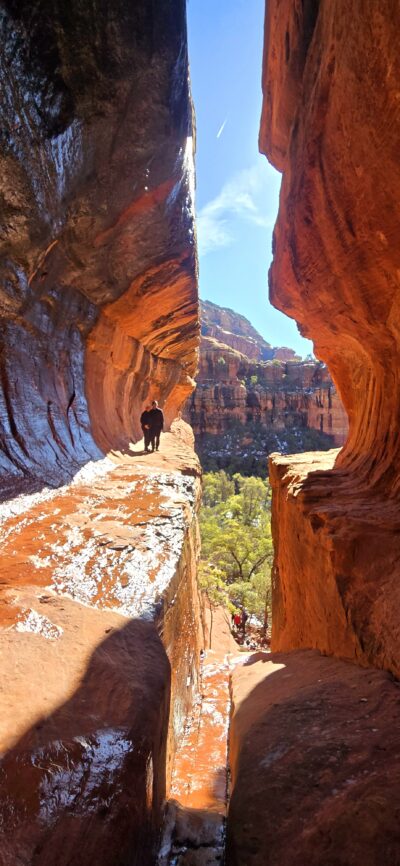
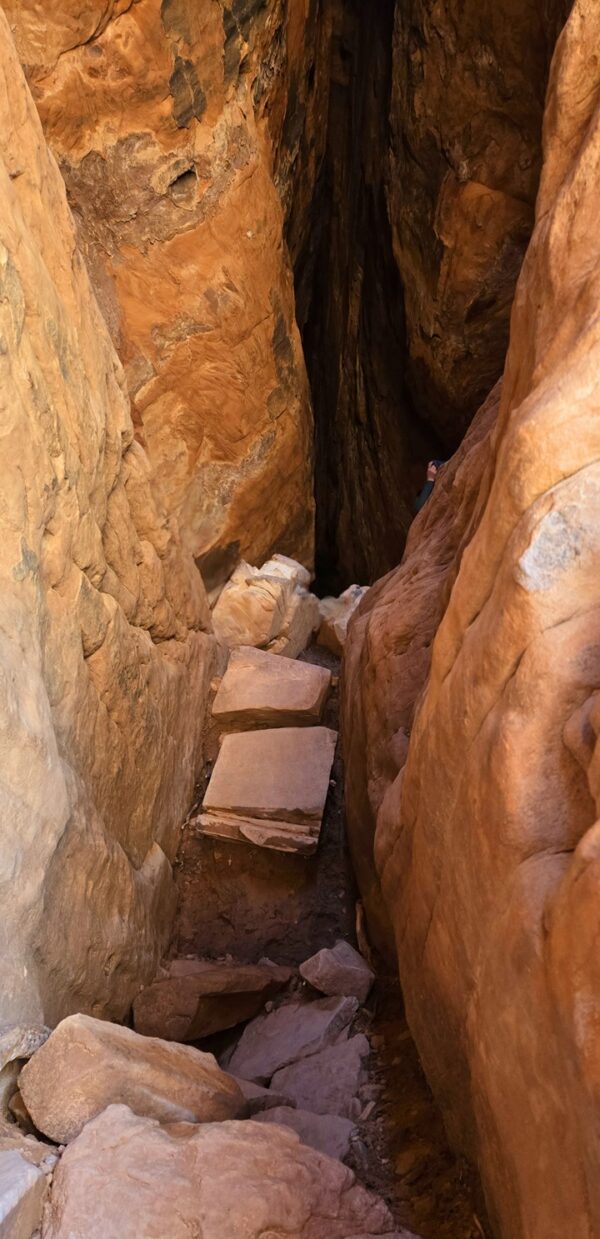
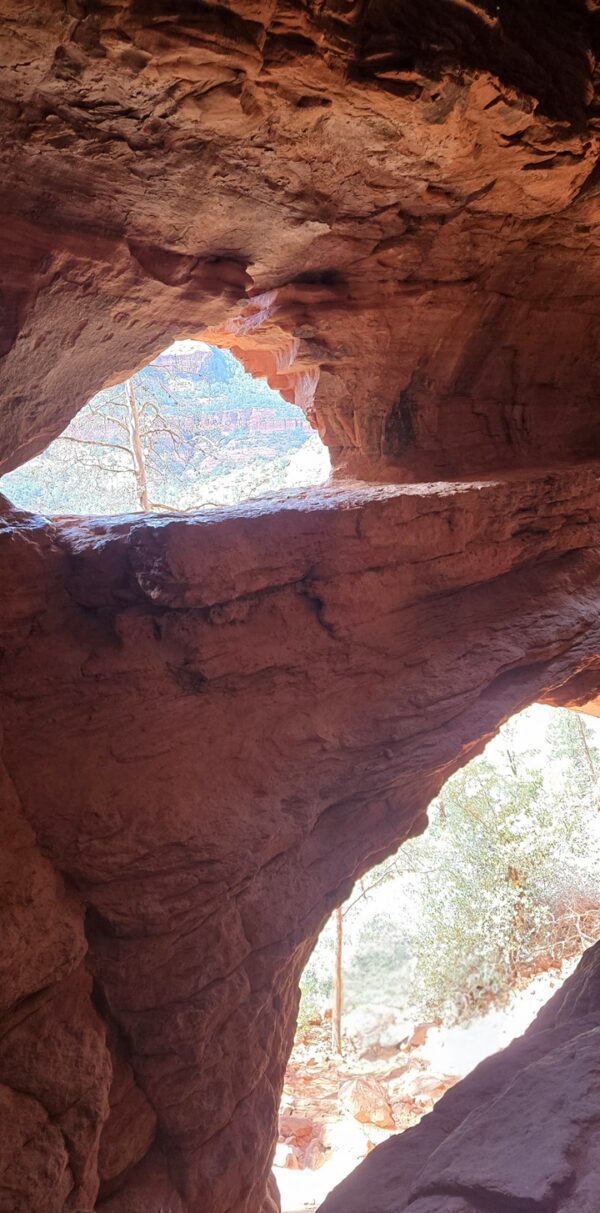
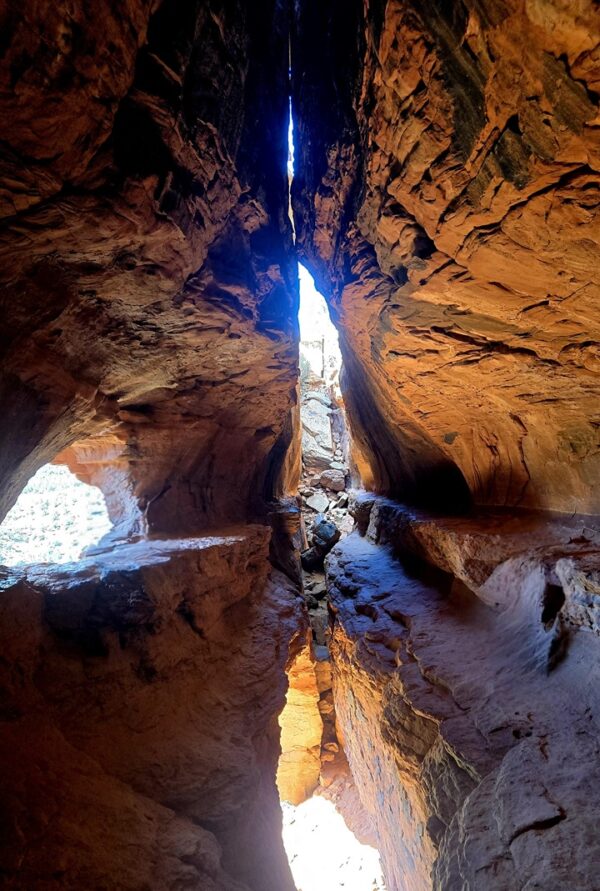
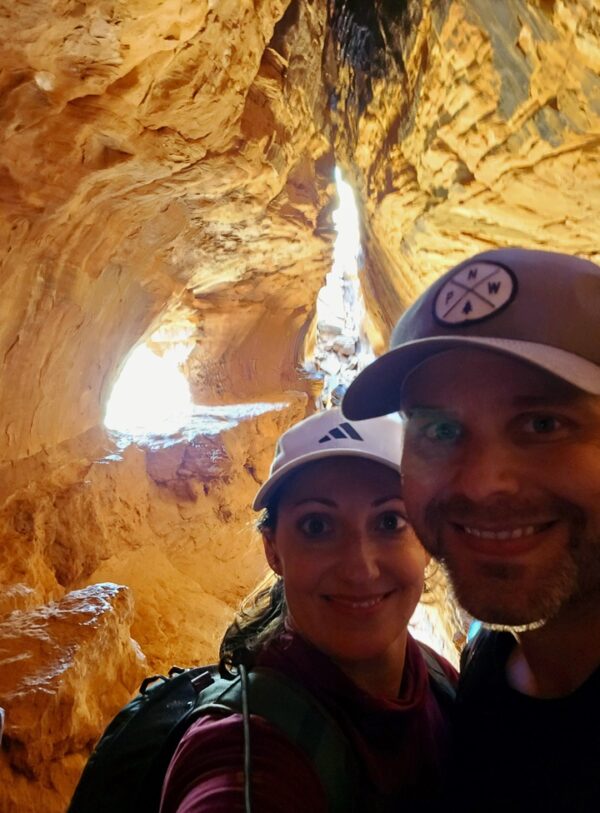
This is another extremely popular trail. While we hiked the entire 6.6 roundtrip miles of this trail, the majority of people do not do this. First, there is another one of those supposed vortexes at the top of the Boynton Canyon Vista Trail which is a much shorter 1.1 miles RT. Scott went up to this and reported no vortex, but you might have a different experience! Second, about halfway up the main Boynton Canyon trail – there will be a fork in the trail. You can continue straight to go up into Boynton Canyon, or you can go right to head to the “secret” Subway Cave. We did both of these options. We started with Subway Cave which adds around a mile roundtrip to the overall hike. We got the trail super early and there were already quite a few people at Subway Cave when we got there so it isn’t that secret thanks to Instagram. It was quite challenging to get up to it, though we did likely take the most challenging route which was straight up instead of going around like others. Once you are up to the cave, it does present some pretty amazing views and is certainly worth your time if you choose to come here as well.
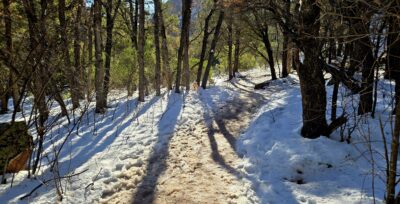
Once we were done at Subway Cave, we went back to the fork and did what most people don’t do – continued on to the end of Boynton Canyon. Honestly, most people probably do this right by not continuing. Most of the elevation was in this section of the hike and while the views were good, we wouldn’t call them amazing. It also didn’t help that it snowed a couple days before our hike and the trail was still covered in several inches of snow and ice in the forest covered areas which made the hike that much more challenging without spikes or poles (especially coming down from the canyon).
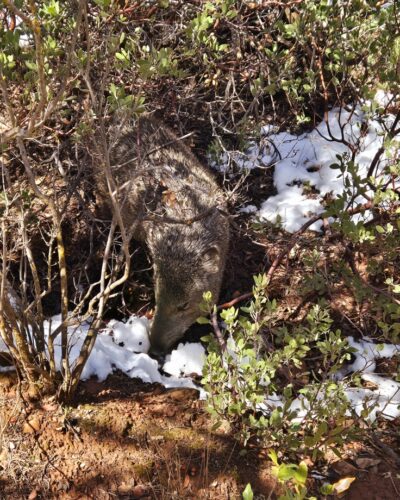
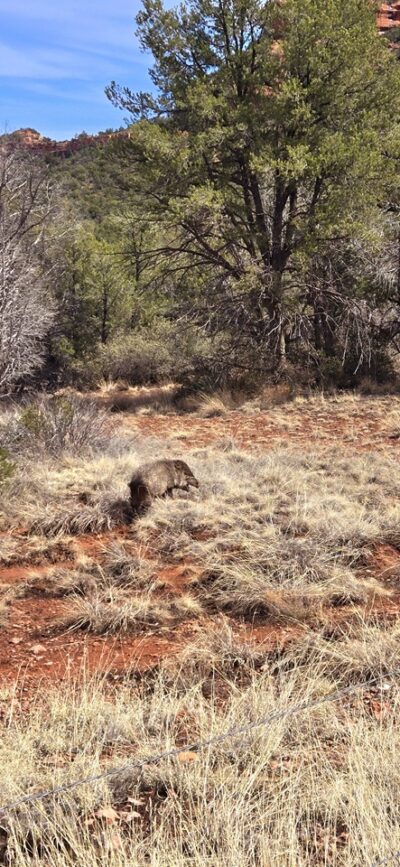
We did see our first javelinas on the way back to the parking lot and then another javelina next to the parking lot, so that provided some excitement on the way back!
Oak Creek Canyon Drive
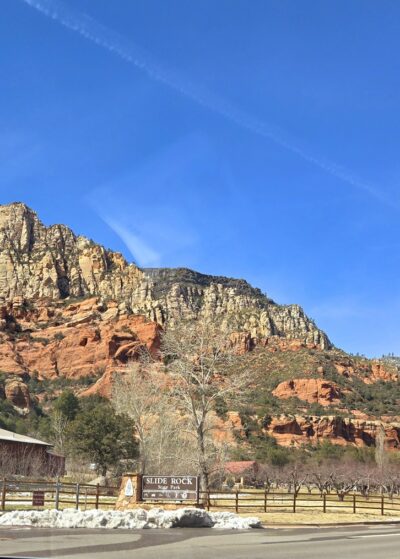
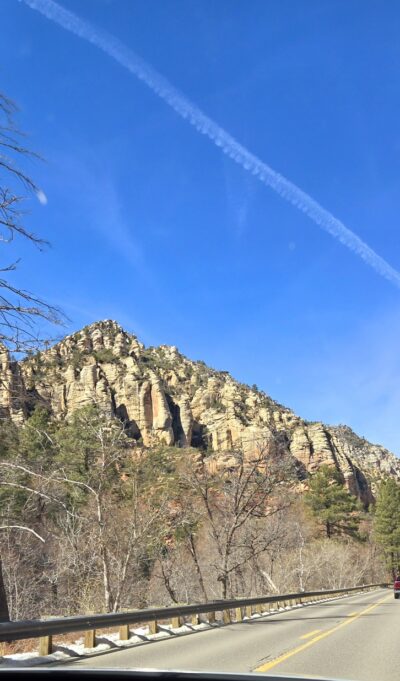
We were exhausted after our hike and cave climb, so we just decided to drive through Oak Creek Canyon in the afternoon. There were great views. Slide Rock State Park and West Fork Oak Creek Trail are located here. We didn’t end up with enough time to try either of them out this time, it gave us some ideas for our next trip.
Broken Arrow Trail – 2.9 miles RT, ~400 feet
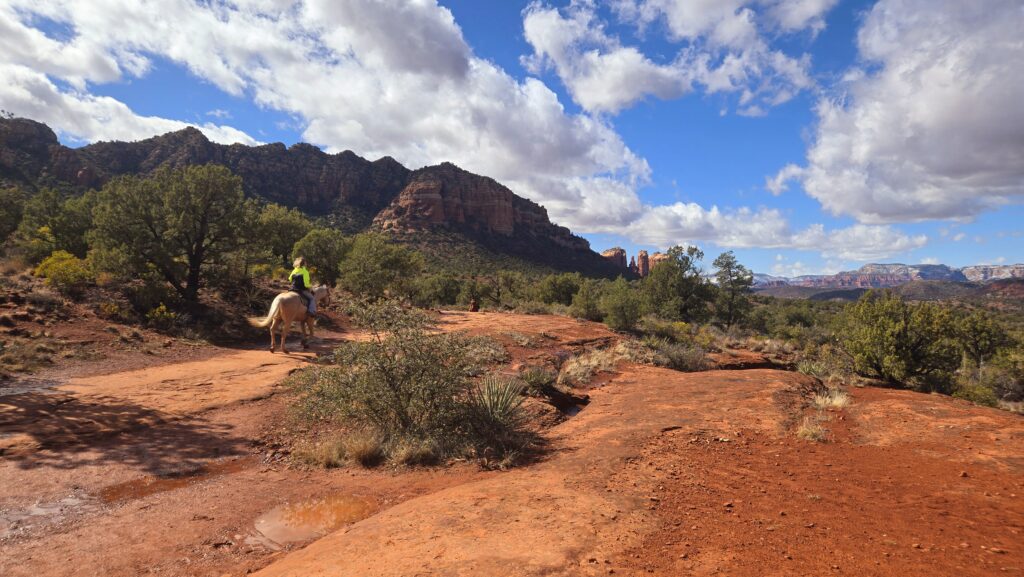
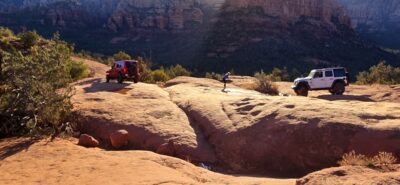
This trail isn’t as popular for hiking as it is for taking a Pink Jeep Tour. However, we chose to save the money and just hike it first thing in the morning. The hiking trail is mostly separate from the jeep road, which is nice, but there are some intersections. We were out there early enough that there was not a lot of jeep traffic yet. You’ll be treated to some great surrounding views before you get to the end at Chicken Point Overlook which offers some stunning views (and a lot of wind in our case).
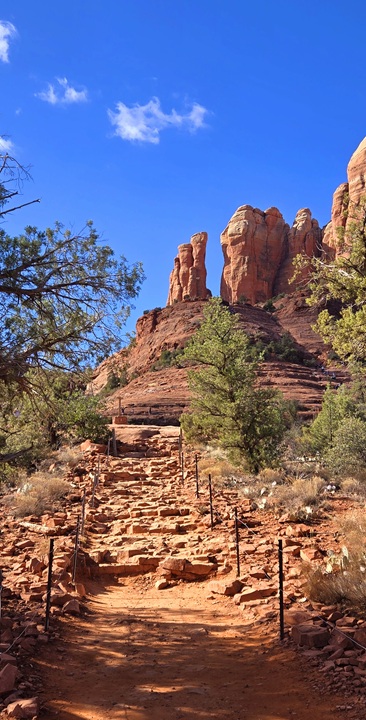
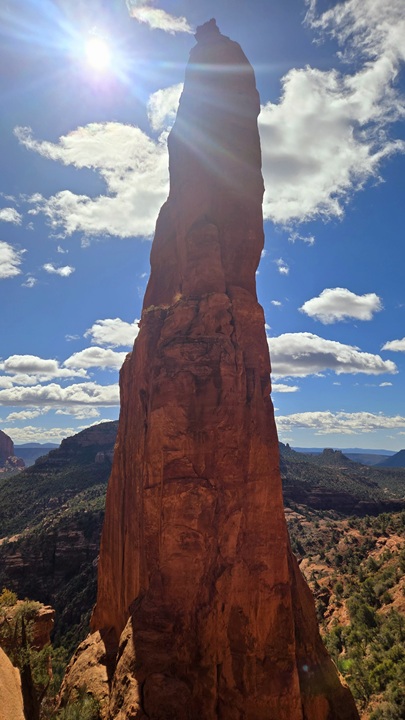
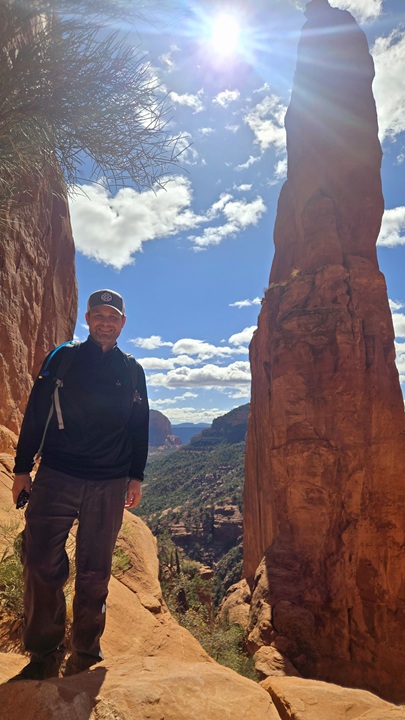
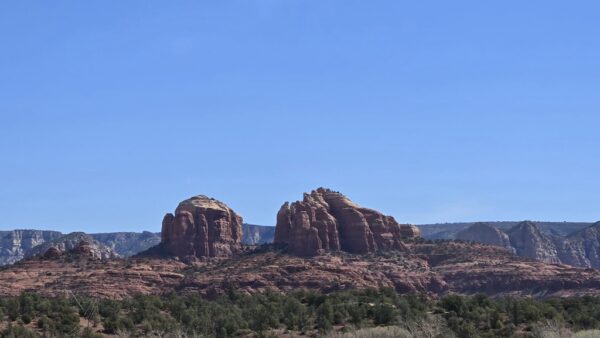
Cathedral Rock Trail – 1.1 miles RT, ~700 feet
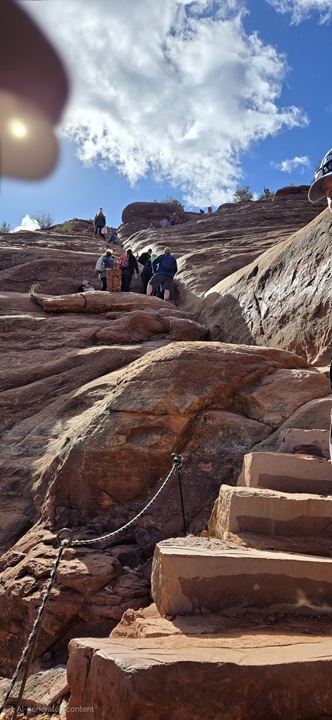
This is the most popular hike in all of Sedona. It was Spring Break during our trip, so we didn’t even have the option to get to the parking lot early. It was just flat out closed all day every day and we had to go to a shuttle parking lot and take a shuttle bus to the trailhead. The shuttle bus ran about every 15 minutes for this trail, so it worked out fine. If you are here at a different time of year, it would be worth getting up before sunrise, parking at the trailhead, and hiking up to see the sunrise – but that wasn’t an option for us.
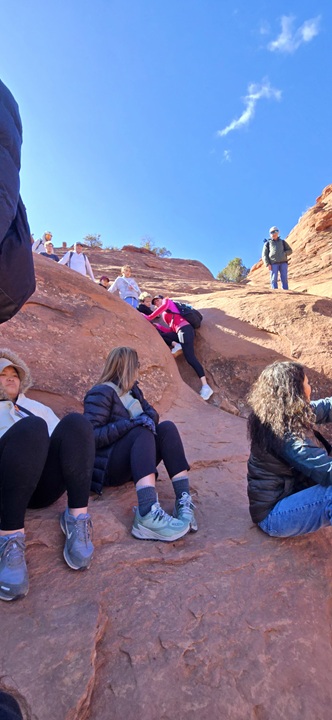
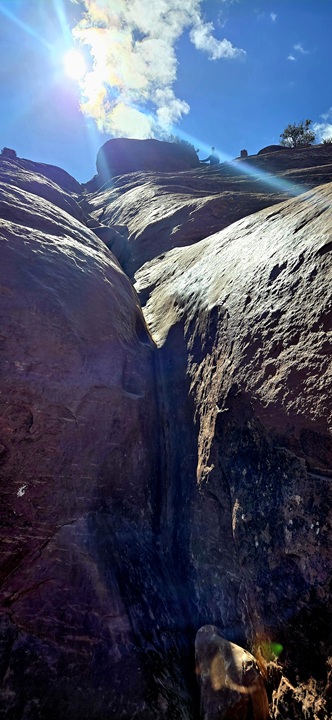
As you can imagine at 700 feet of elevation in about half a mile one way, this is not an easy hike. As you can also imagine with the masses of people that do this, it is not a fast hike either. We actually got to a fairly sketchy point where you have to get your foot up on a ledge and then pull yourself up to continue on. Amanda gave Scott a little push to get up and keep going, but unfortunately couldn’t get up herself and didn’t want Scott to come back down to push her up. So she rested at this point (with a lot of other people in the same predicament) while Scott continued up the top. The views all the way up and at the top are amazing and there is somewhat of a secret trail at the top that takes you around to more amazing views which only a few people seemed to know about. Again, there is supposedly a vortex up there. Sit and relax and see if you feel anything and let us know. If you have the time, we’d recommend doing this trail for sure. Just be prepared for the people chaos and challenging terrain.
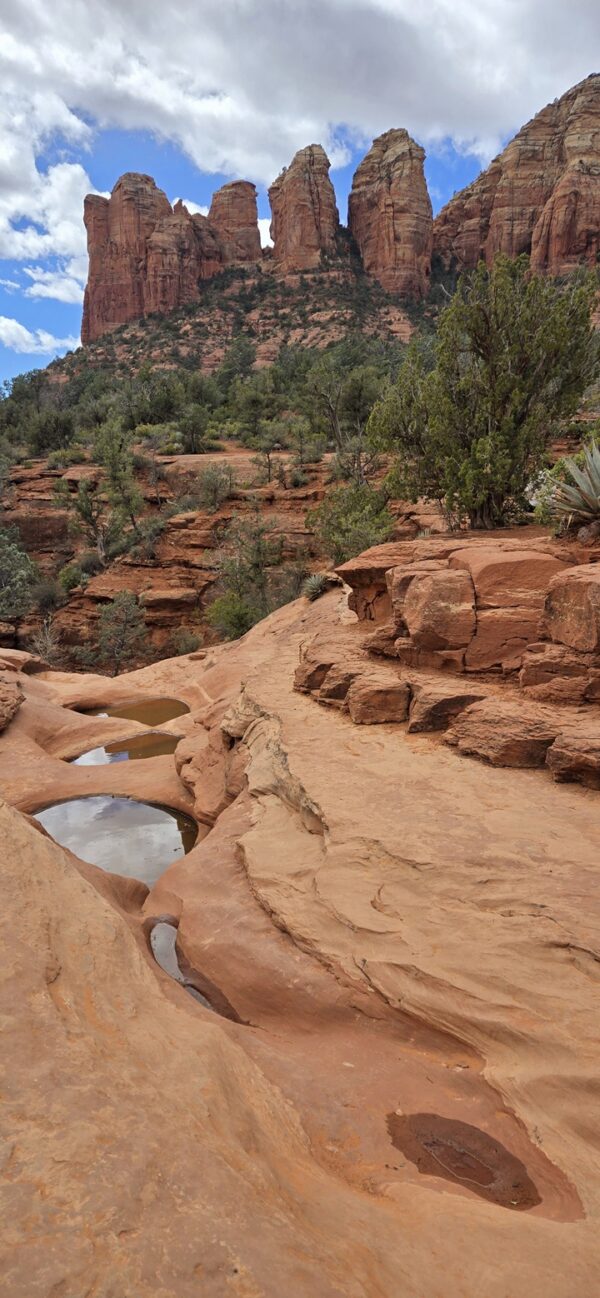
Soldier Pass Trail – 4.8 miles RT, ~825 feet
This is another very popular hike in the area which required a shuttle bus during the time we were there. Unlike the Cathedral Rock trail, this shuttle bus only came every 40-50 minutes and was often late. For as popular as this hike is, that created long times and people sometimes had to wait for multiple shuttle buses meaning they were standing in line longer than it took to do the actual hike. We took the bus to the trailhead, but decided to just walk the extra mile back to the parking lot afterwards as there was a huge line at the shuttle stop.
This trail has some similarities with Boynton Canyon Trail above. Most people do not go all the way to Soldier Pass (Scott of course did). Instead, the majority of people hike to a cave which will be a right at the fork you come to a little over halfway back. This one is even more challenging to get up/in compared to Subway Cave in Boynton Canyon and we thought about not doing it but were eventually convinced to give it a try. It was quite crowded up in the cave as there is a ledge you can climb over to that opens up to the outside allowing for great Instagram pictures. We did not wait in line for pictures there as it was also pretty sketchy to climb over there.
Once we were done at the cave, Amanda made the correct decision to go back to bottom while Scott continued on to the top of Solider Pass. The views at the top were decent, but again, not amazing enough to warrant the extra ~2 miles of hiking round trip with the majority of the elevation occurring in these miles. We’d recommend stopping at the cave if you do this hike yourself.
Devil’s Bridge Trail – 3.9 miles RT, ~525 feet
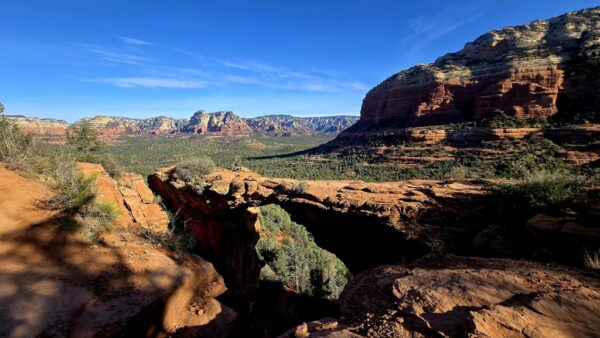
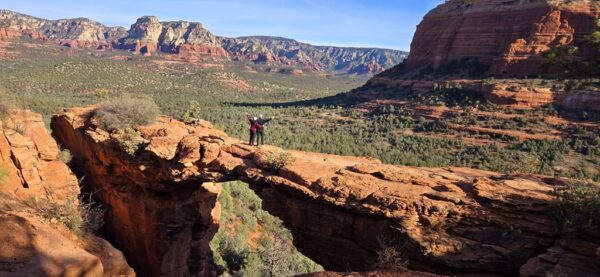
This is another Instagram famous destination with an iconic photo opportunity at the end standing on what appears to be a very narrow bridge with the red rock scenery behind you. With that comes lots of crowds, so you will want to get out here early in the day. We took the very first shuttle, although it turns out we could have parked at the lot ourselves even earlier. There are a few options to get here but we chose to walk down Dry Creek Road which is a jeep only road for about a mile or so and then turn off onto the trailhead which seemed moderate to almost easy for us. The longest part of the hike is actually waiting in line at the end to get your photo taken. We waited about 20 minutes which was on the low end since we got there so early. We’ve heard you can easily wait in line for 60-90 minutes or longer later in the day as people continue to pile in.
You’ll get some good views just driving into this State Park and there are about 5 miles of trails you could hike in total, many of which intersect with each other to form some good loops. There is an entrance fee of $10/person (2025). Scott took the Eagle’s Nest Trail which was about 2.8 miles and ~350 feet of elevation. It had some great views of the surrounding area and Cathedral Rock off in the distance. The other main loop here to see the rest of the trails is Javelina which would get you closer views of Cathedral Rock.
Surrounding Areas
Phoenix
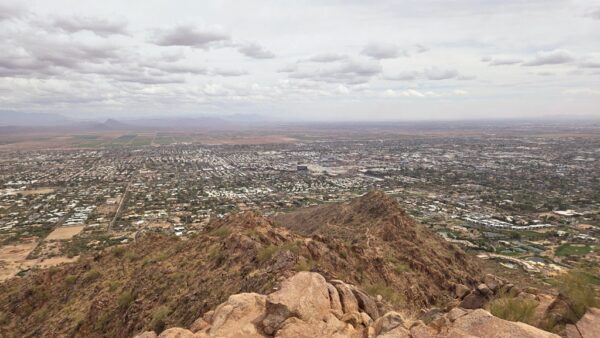
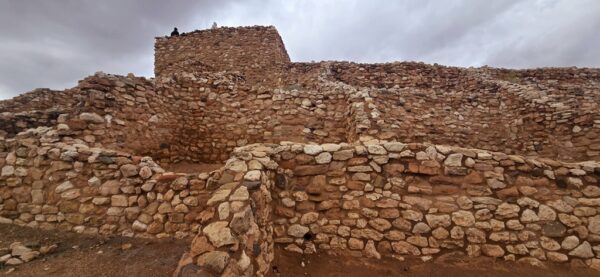
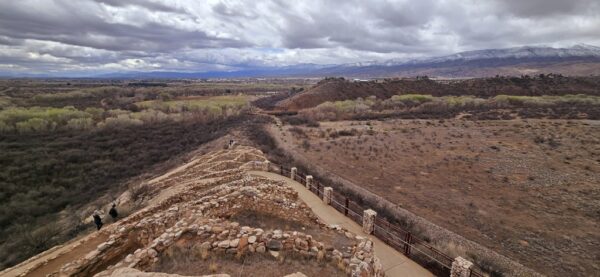
Before we headed up to Sedona, we spent some time in Phoenix which included hiking Camelback Mountain via Echo Canyon. Afterwards, we headed north stopping at Tuzigoot National Monument and Jerome State Historic Park before reaching Sedona. We also attempted to attend a spring training baseball game but unfortunately it was rained out.
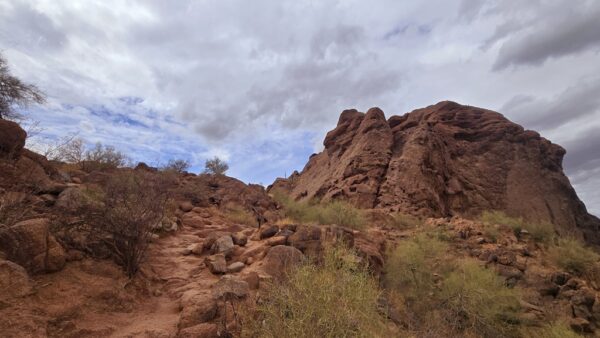
Camelback Mountain via Echo Canyon – 2.6 miles RT, ~1,300 feet
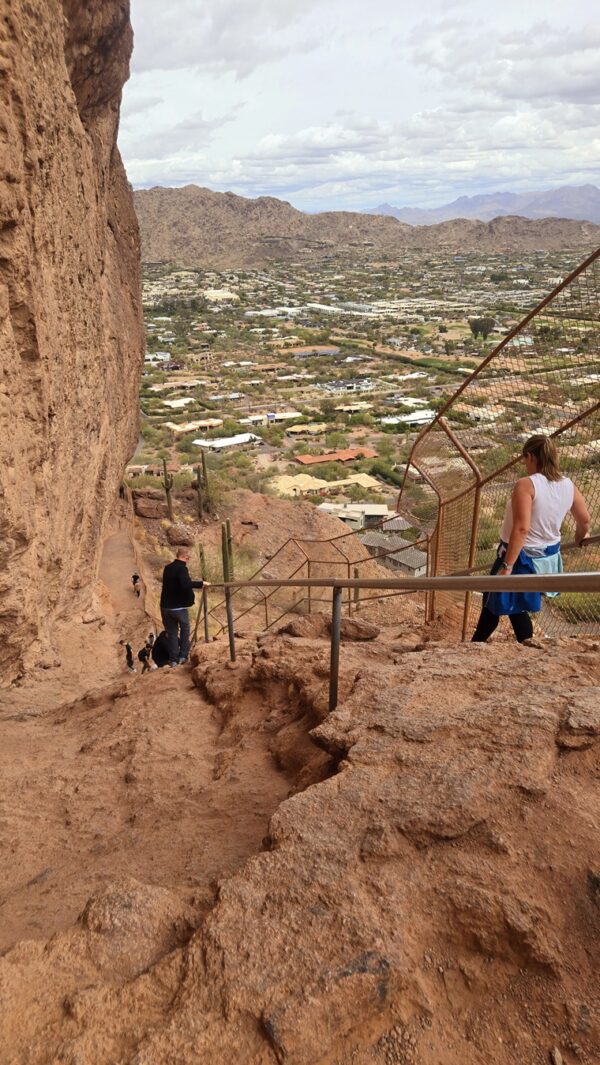
Make no mistake, this is a very challenging hike, and you better come prepared with a lot of water. Scott tried this hike several years ago and had to abandon it halfway up because he started to get dizzy as we got into Phoenix late the night before and he just wasn’t prepared for this hike (i.e. tired and dehydrated). This time, he was more prepared and made it to the top which includes several rock scrambles along the way. While he was hiking up, an older lady collapsed into a cactus and had to be retrieved by eight medics – so this hike is not for everyone. The views at the top make it all worth it through and you do feel quite accomplished! Amanda enjoyed the view from the comfort of the parking lot as she was saving her legs and back for longer hikes in Sedona.
This is about 30 minutes from Sedona and includes a really cool pueblo which you get to climb up into and on top of. There is a short trail from the visitor center taking you to the pueblo and you could continue on to the Verde River and Tavasci Marsh if you desire. We could see the small town of Jerome from the top of the pueblo and could also see that some weather was coming in, so we chose to go only to the pueblo then headed over to Jerome.
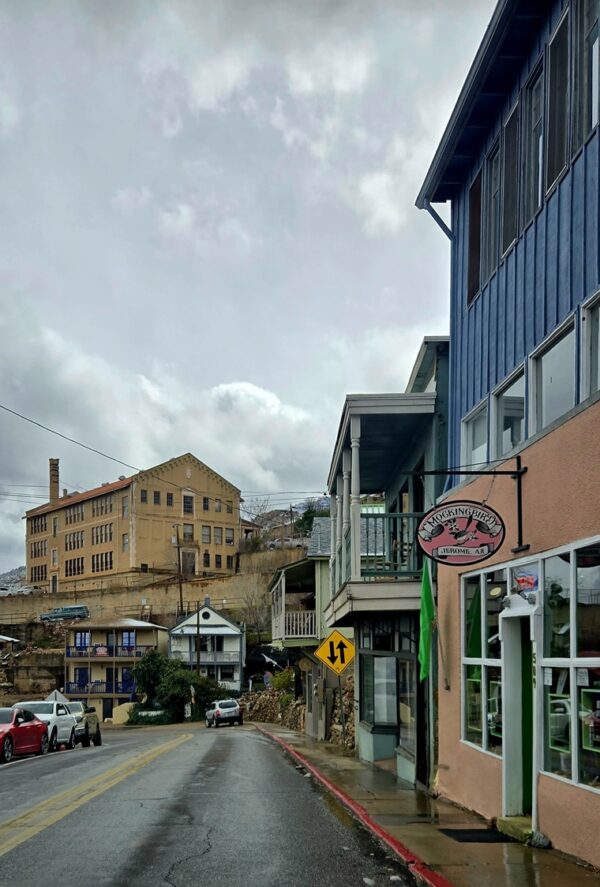
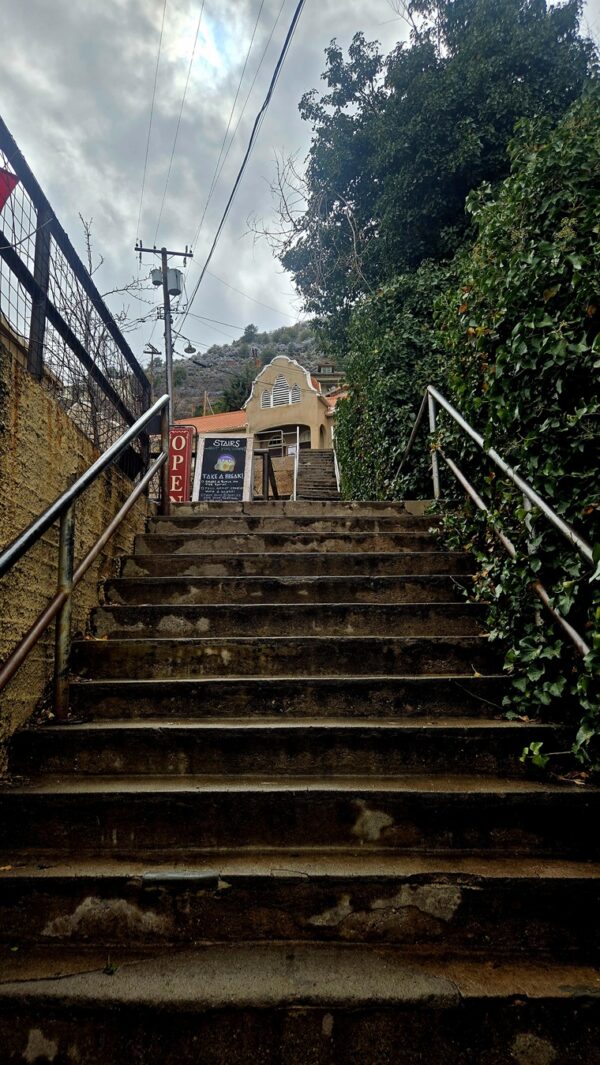
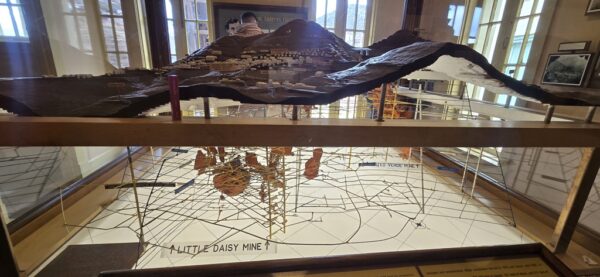
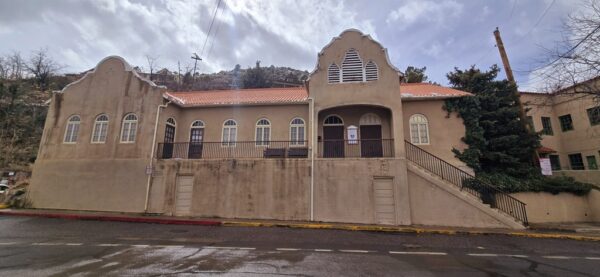
This was a pretty cool spot as the museum lays out the town’s history as a copper mining town before turning into a ghost town these days. The entire town sits on top of the old mine and there is an exhibit showing all of the tunnels that lay directly beneath the town which doesn’t make you feel entirely safe. We spent time in the museum and then walked around town before grabbing lunch at a burger joint as it started to snow outside (yes, it does snow in this part of Arizona). We headed out after lunch and headed over to our lodging in Sedona.
Flagstaff
We also spent a day up in the Flagstaff area which was primarily a national monument day as there are several up in the area: Sunset Crater Volcano National Monument, Wupatki National Monument, and Walnut Canyon National Monument.
Sunset Crater Volcano National Monument
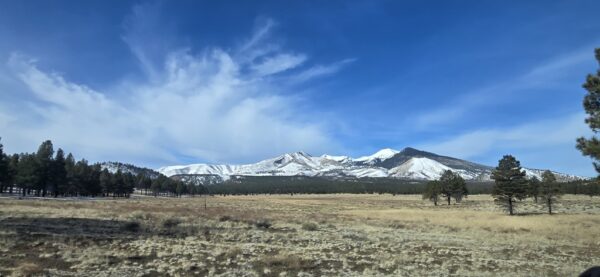
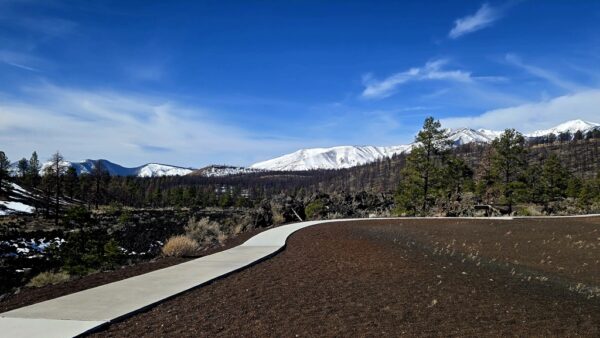
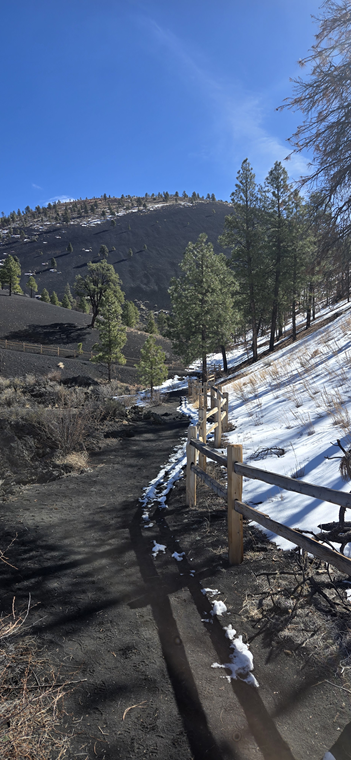
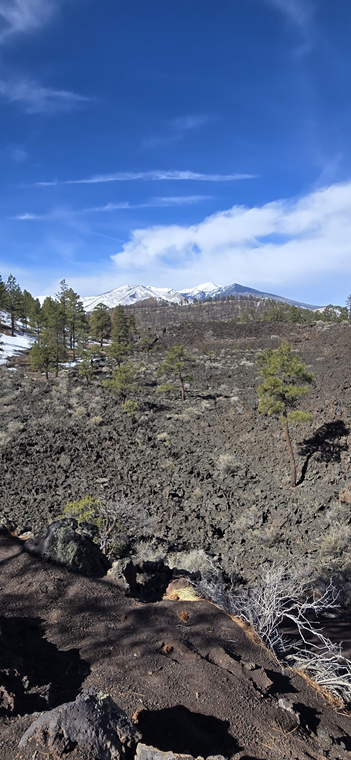
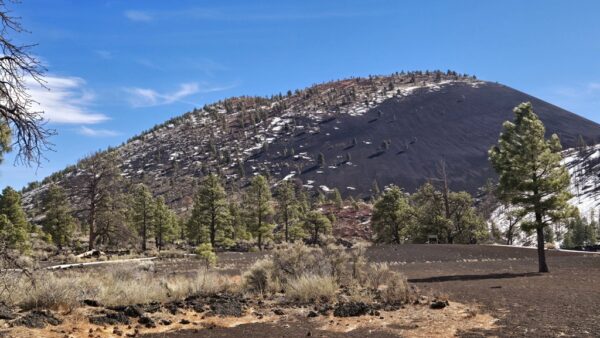
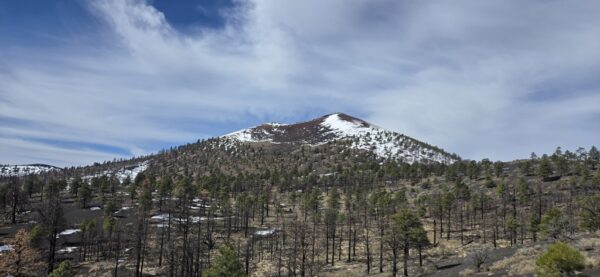
We had no idea there were so many volcanoes in Arizona before this day trip. In fact, Flagstaff is located in the San Francisco Volcanic Field which consists of over 600 volcanoes. Sunset Crater is about 1.5 hours from Sedona, and you will drive through Flagstaff on the way (about the 1-hour mark). When you arrive, we’d recommend checking out the exhibits in the Visitor Center first so you can learn about the area like we did. Once done there, there are some pull offs on the park road where you can get up and close to the lava fields before coming to the Lava Flow trail parking lot. This is about a 1-mile loop trail that takes you through more lava fields and gives you amazing views of both the Sunset Crater Volcano and the far-off San Francisco Volcanic Field peaks which were still snow covered for us.
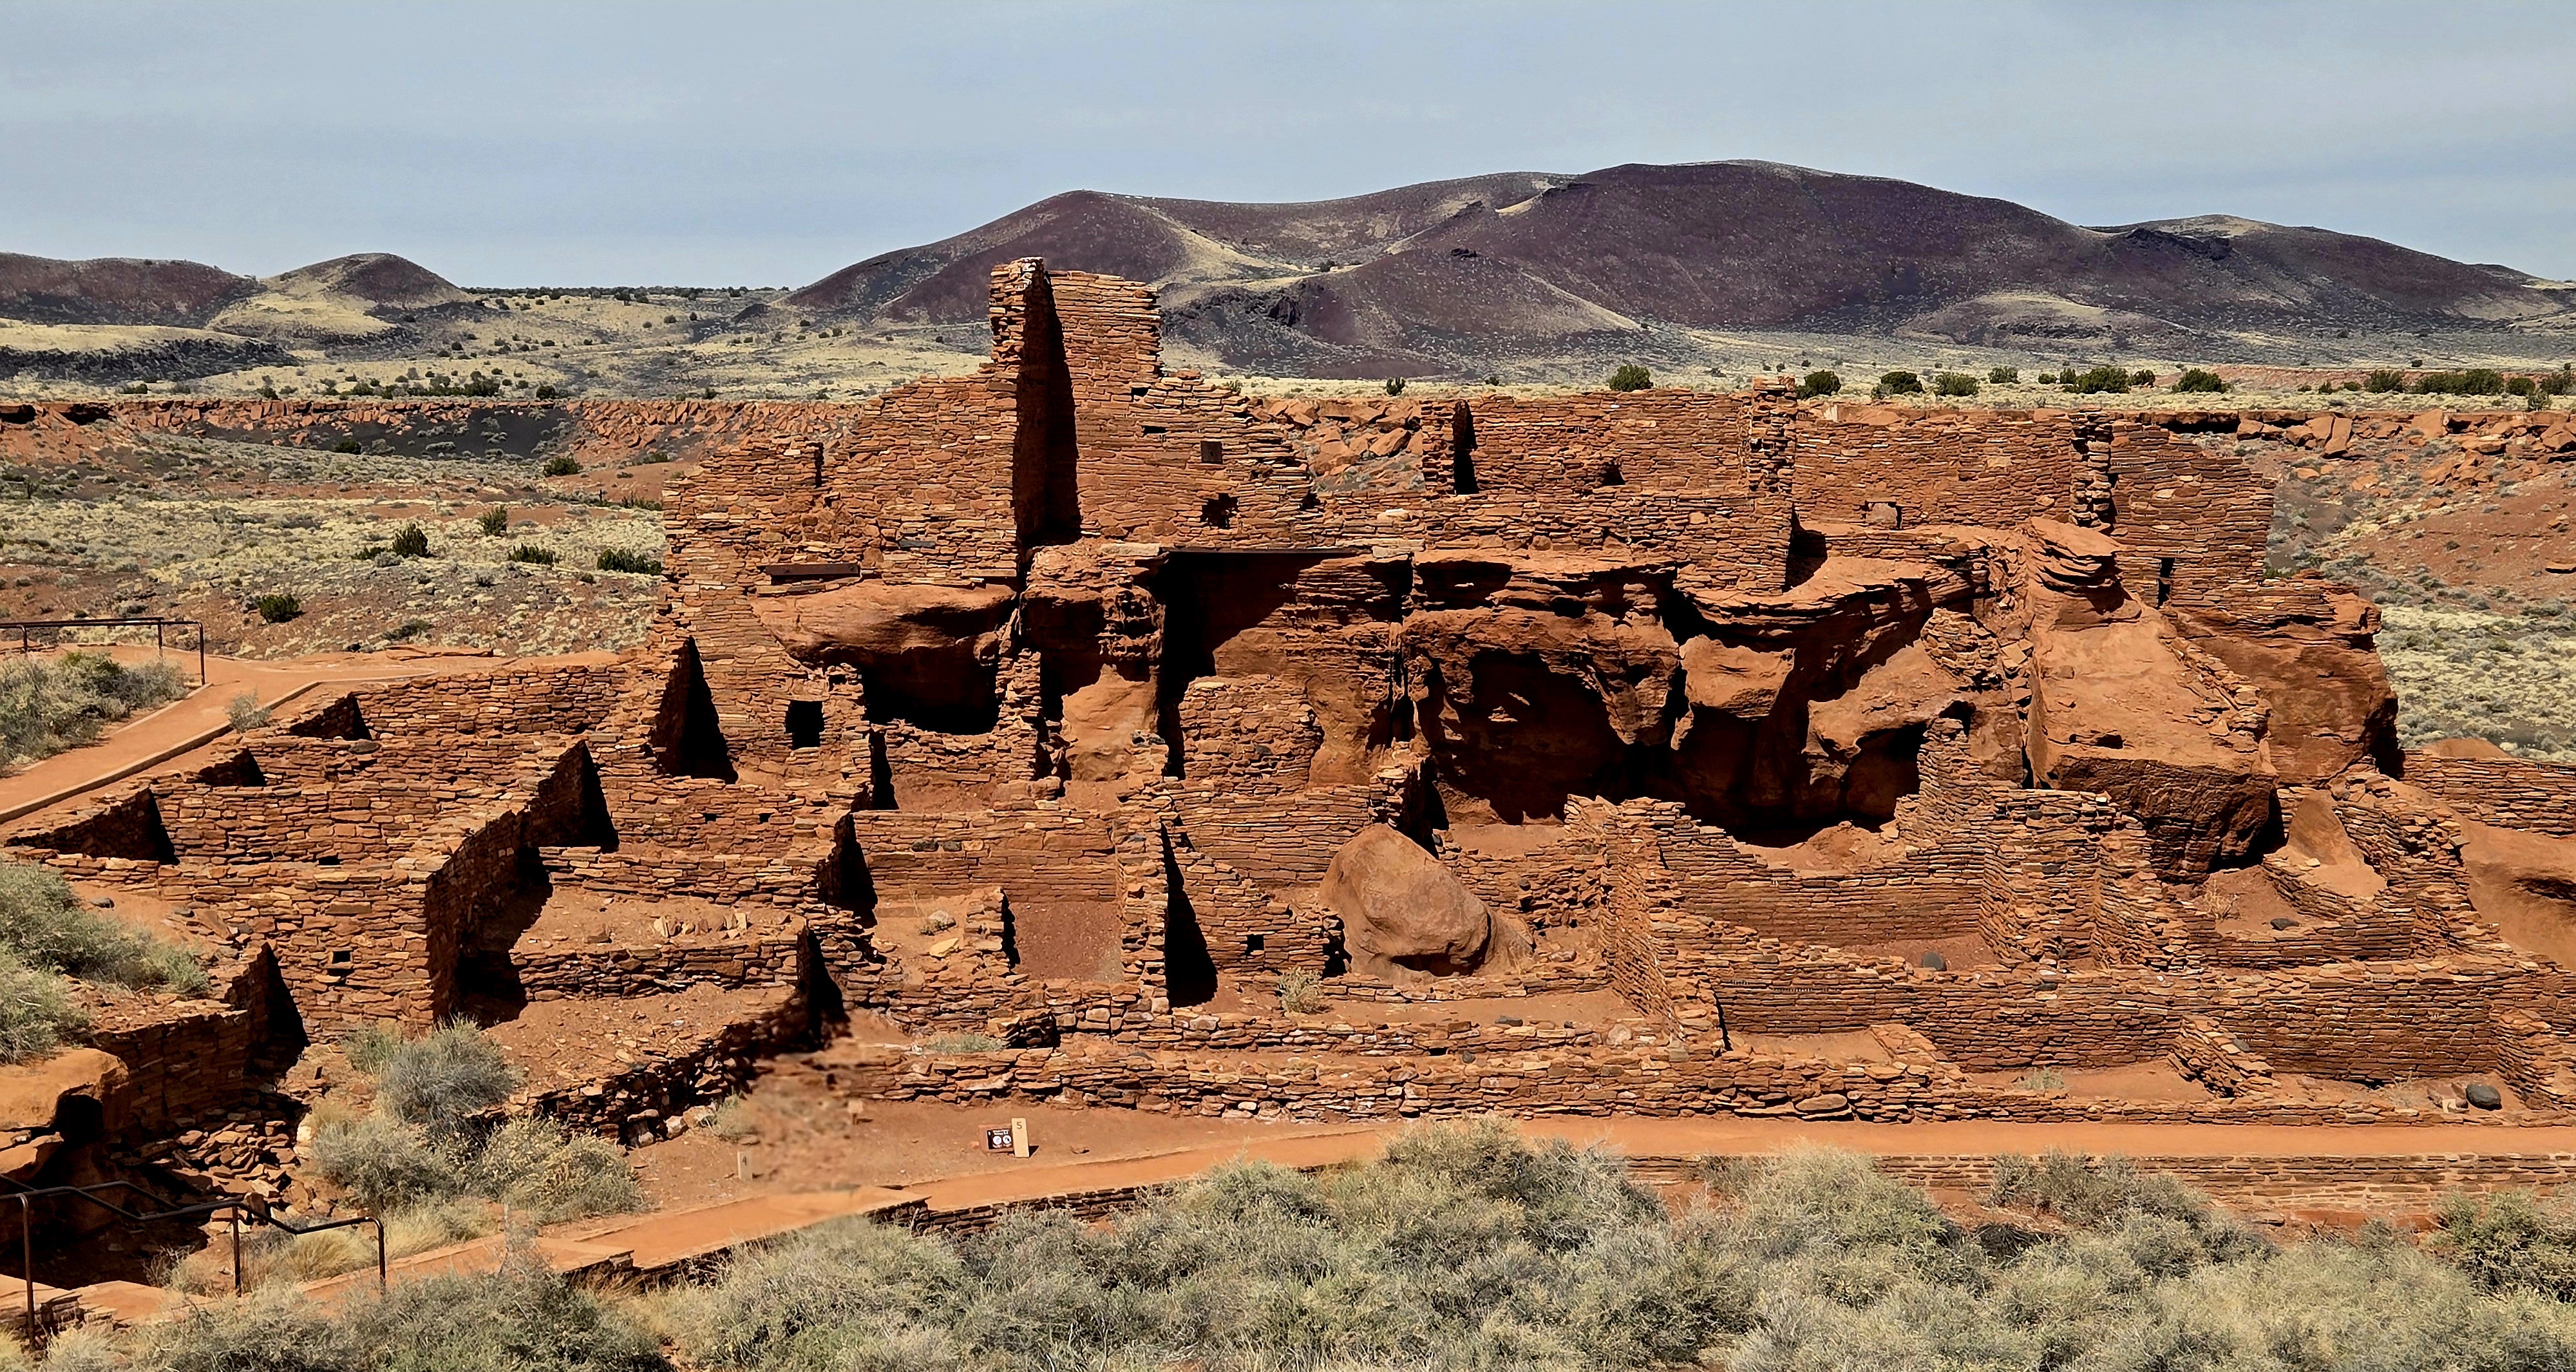
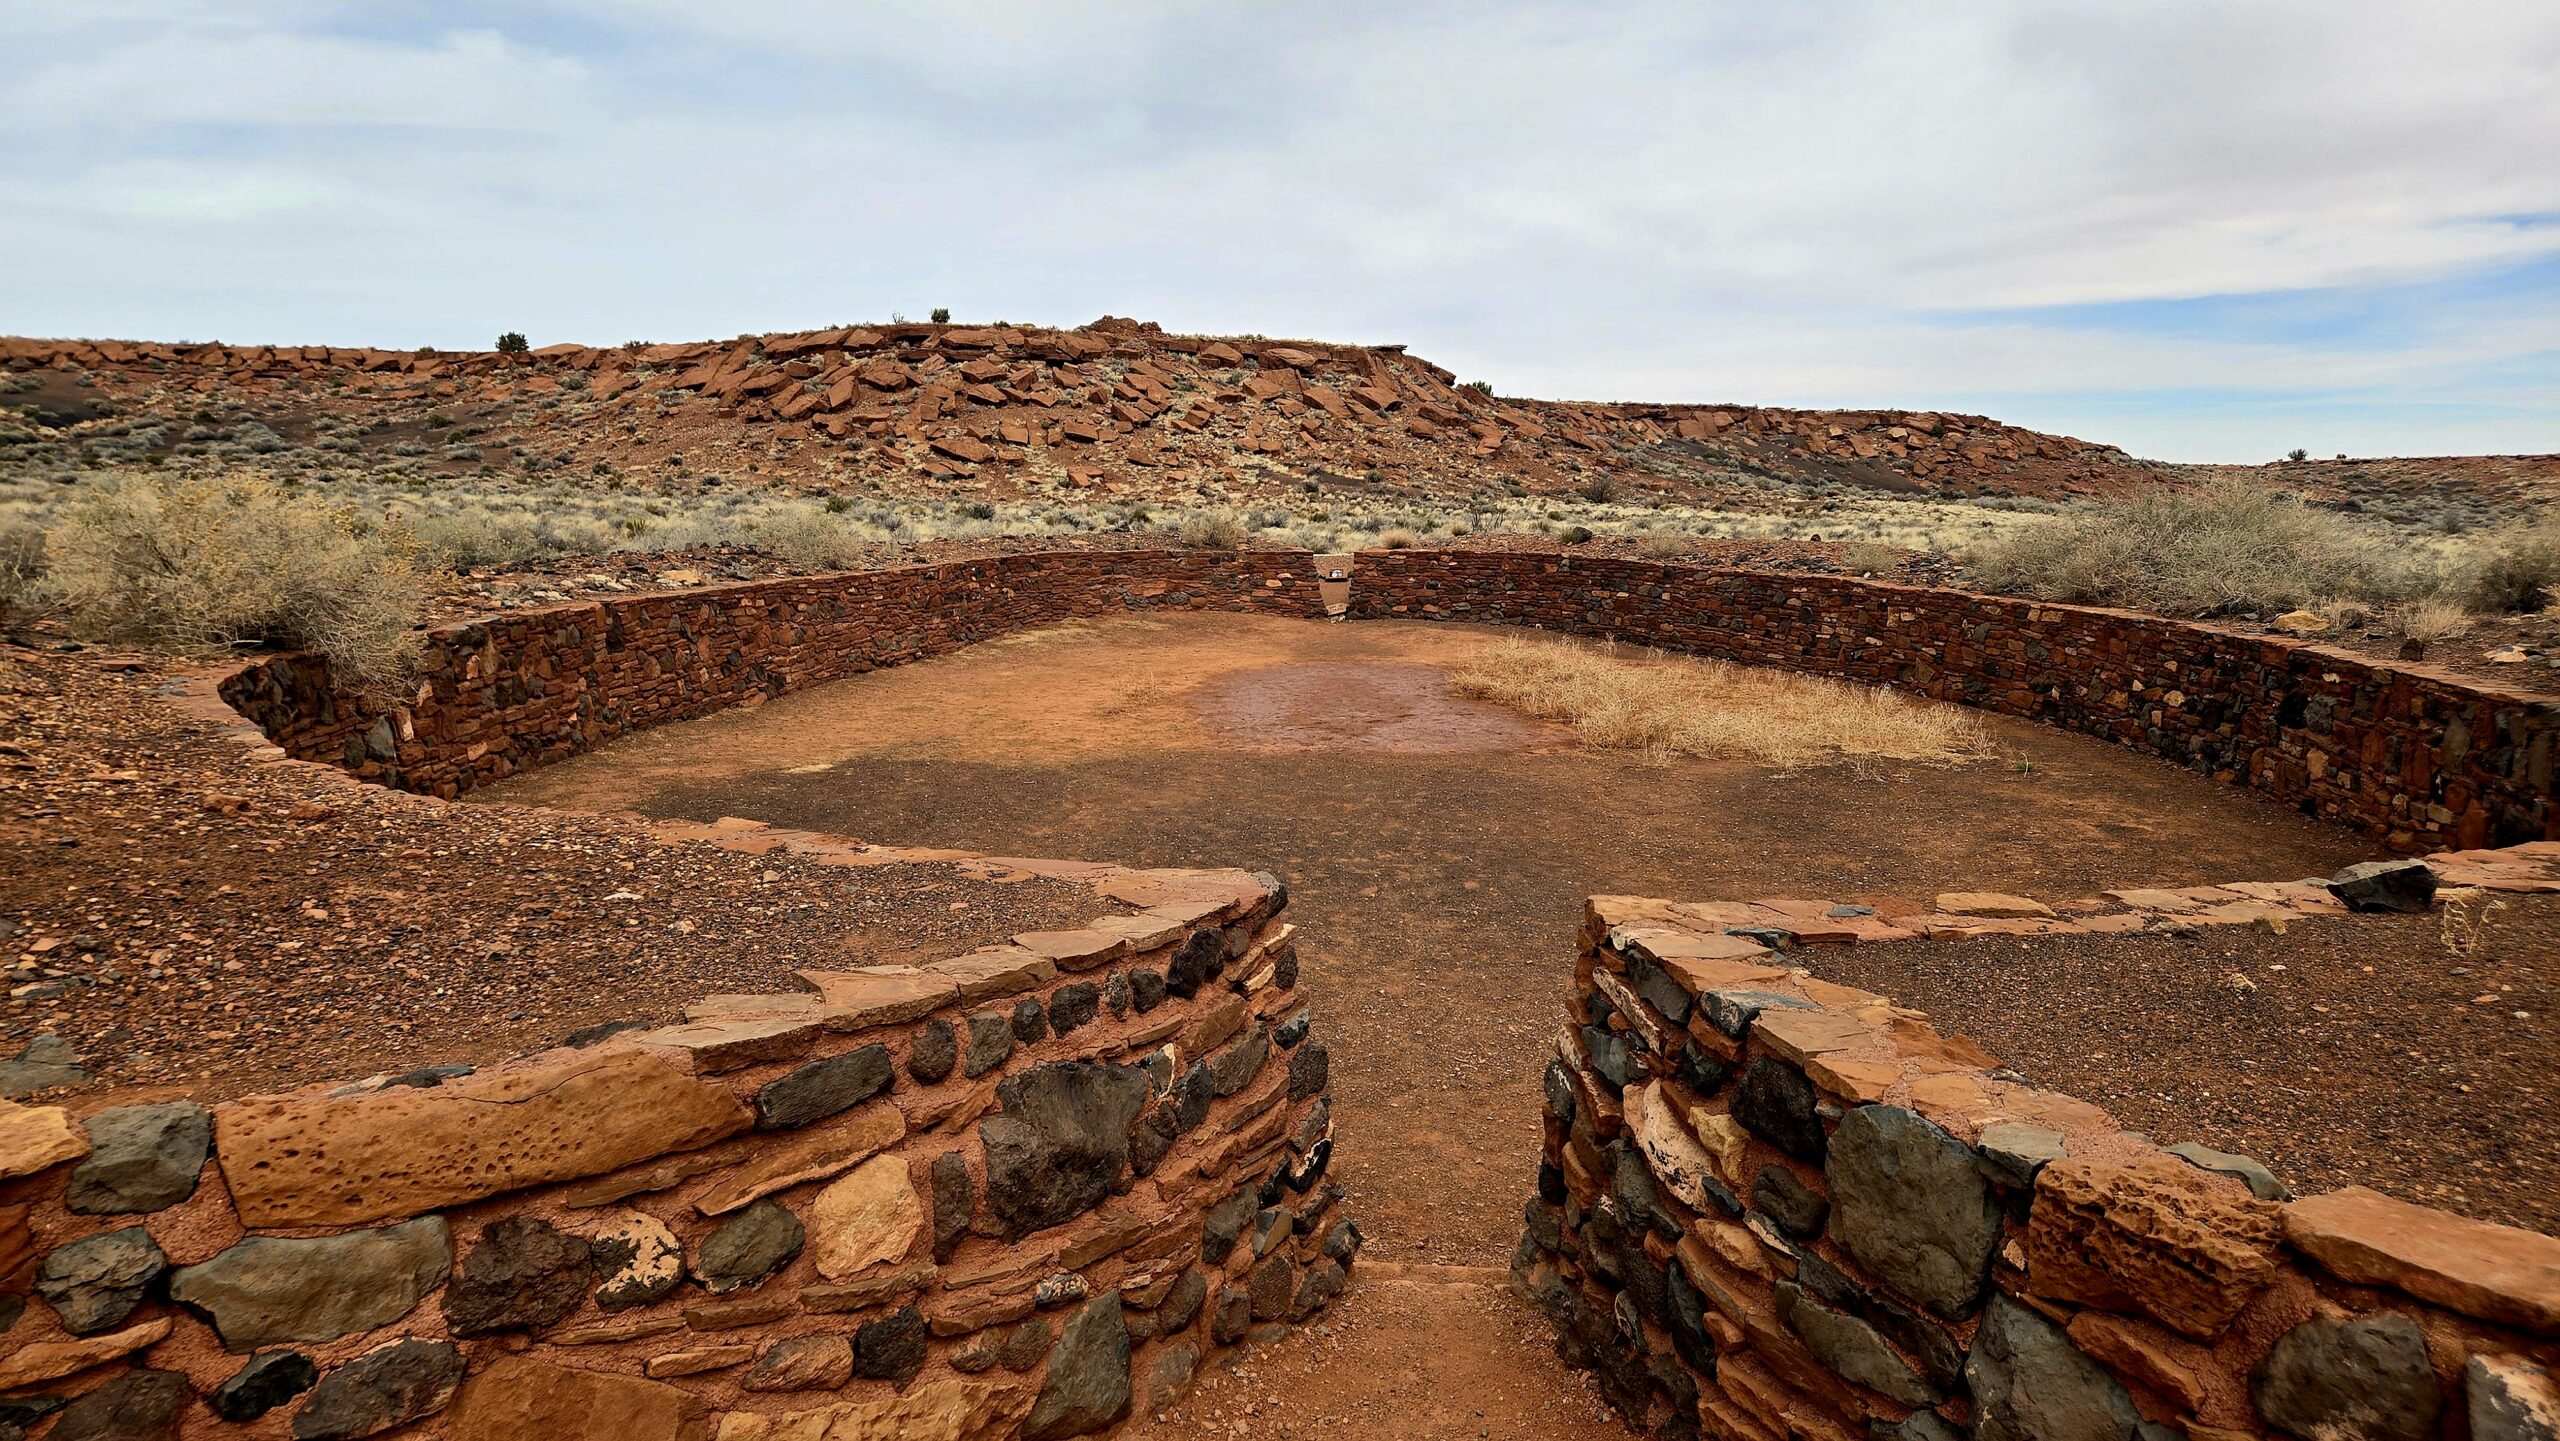
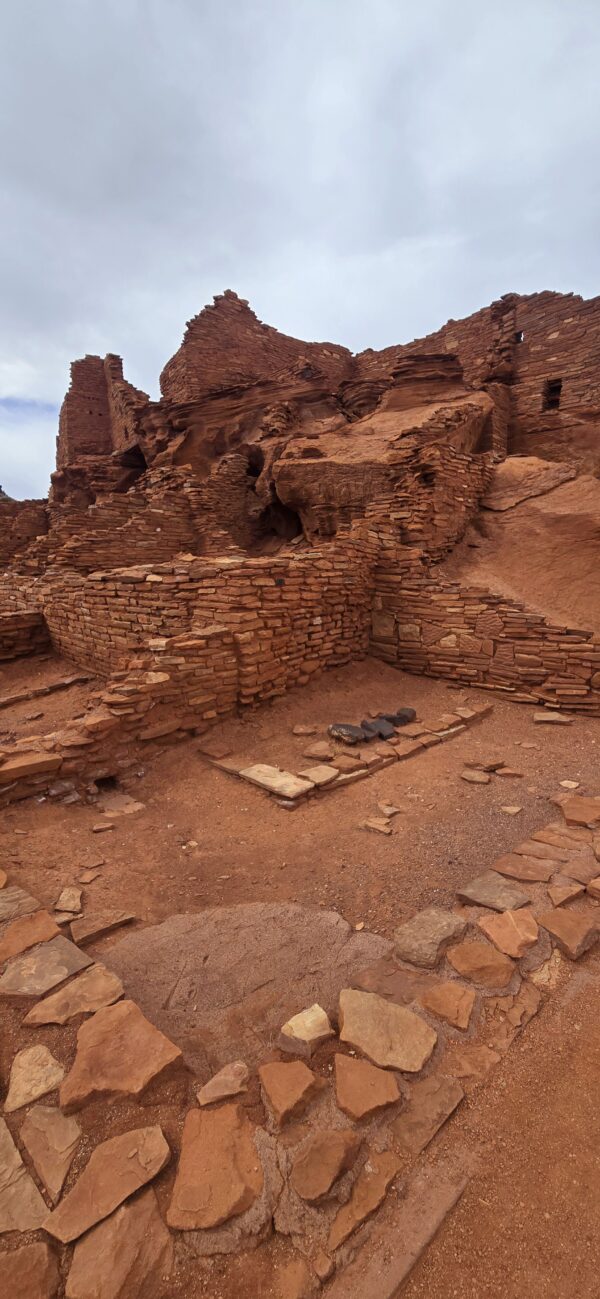
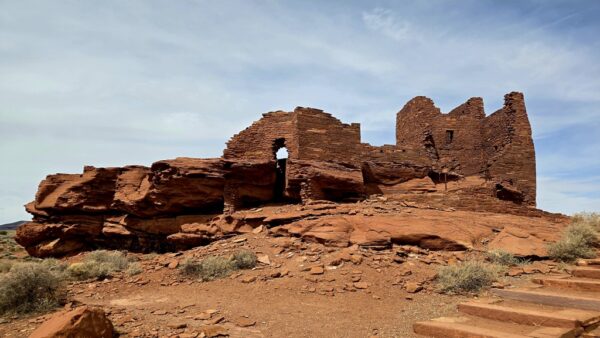
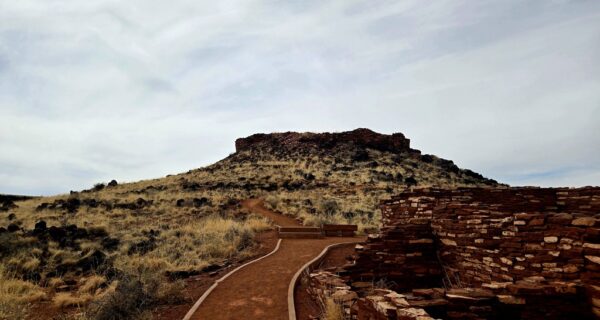
One you are done at Sunset Crater, you can just continue on the road for ~20 minutes or so and you will come to Wupatki National Monument which is centered around some ancient pueblos. There are pueblo ruins almost everywhere you look as people lived here after the volcanic eruption at Sunset Crater as the ash created great farmland for a while. A few of the pueblos have been reconstructed for your viewing including the Wupatki Pueblo which is located right behind the visitor center.
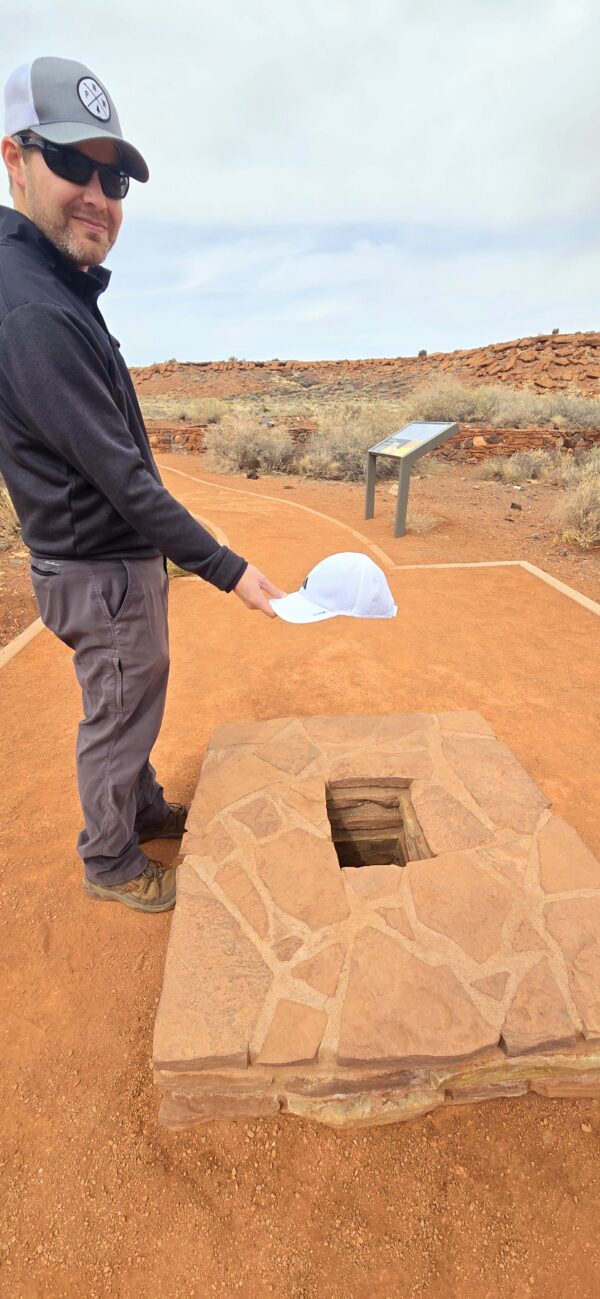
Fun story about the picture of Scott holding a hat. Amanda saw a picture of a park ranger with his hat suspended in midair above the blowhole with no one holding it. She decided she wanted to try the same thing. Unfortunately, the crosswind was very strong. She told Scott to let go and the crosswind blew the very new, very white hat into the red dirt. Win some, lose some haha.
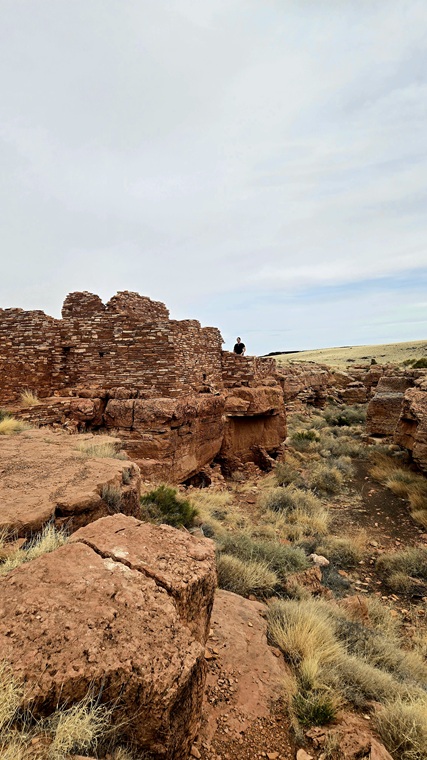
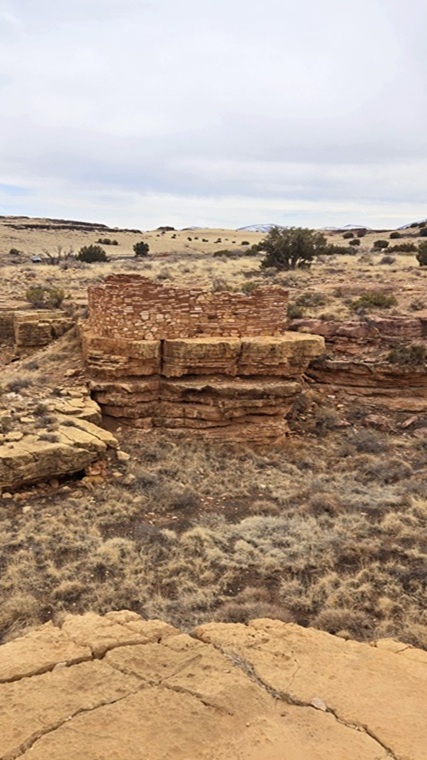
You can also view Wukoki Pueblo, Citadel Pueblo, Lomaki Pueblo, and Box Canyon Pueblos right from the park road with some very short hikes. You can actually climb up onto and into the Wukoki and Box Canyon pueblos which is pretty cool.
Walnut Canyon National Monument
We then drove about 40 minutes back to the Flagstaff area to visit Walnut Canyon National Monument. This monument preserves many cliff dwellings that exist in the canyon. There are two trails at this monument – the Island Trail and the Rim Trail.
Island Trail – This is about 1 mile round trip, but it descends almost 200 feet almost vertically via stairs. You’ll feel fine going down, but it is quite the climb back up. It is worth it through as you get to walk around about 25 cliff dwellings to try and understand how people lived back then. It is crazy to think about what they had to go through in order to just get water from the canyon floor which is several hundred feet below these dwellings with no easy access.
Rim Trail – This trail is about 0.7 miles and is mostly flat along the rim. You won’t get nearly as close to the cliff dwellings, but it provides better perspective of the overall area and canyon. You can also visit a rebuilt pueblo on the trail.
Page
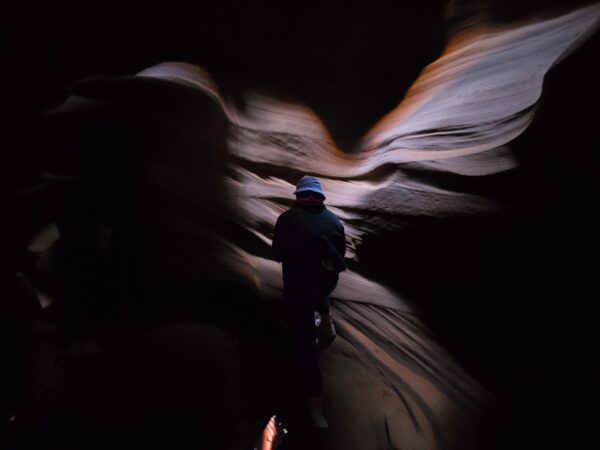
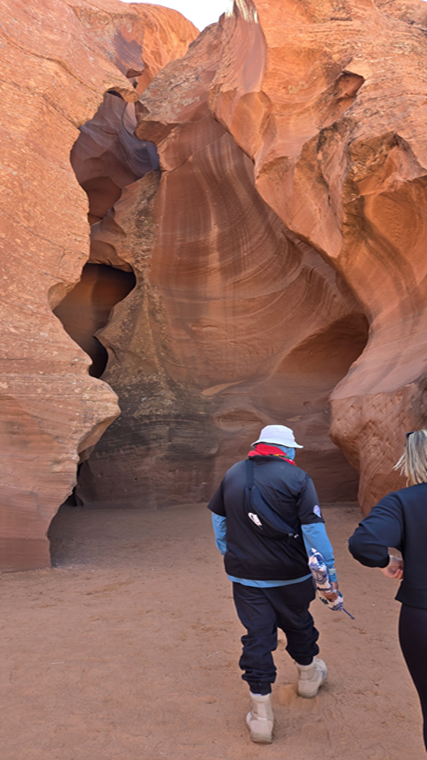
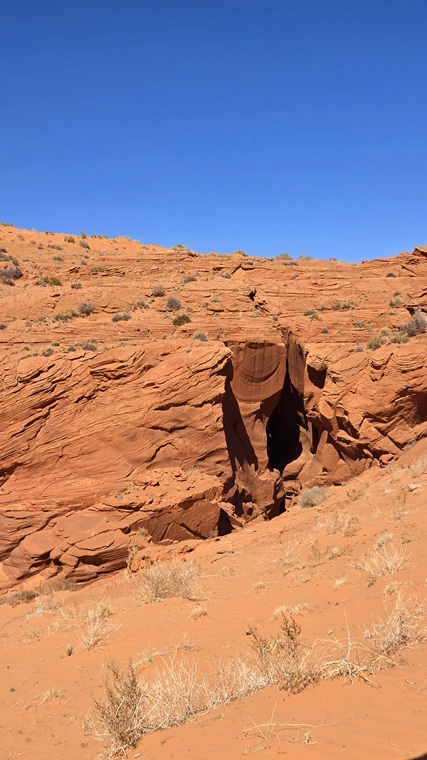
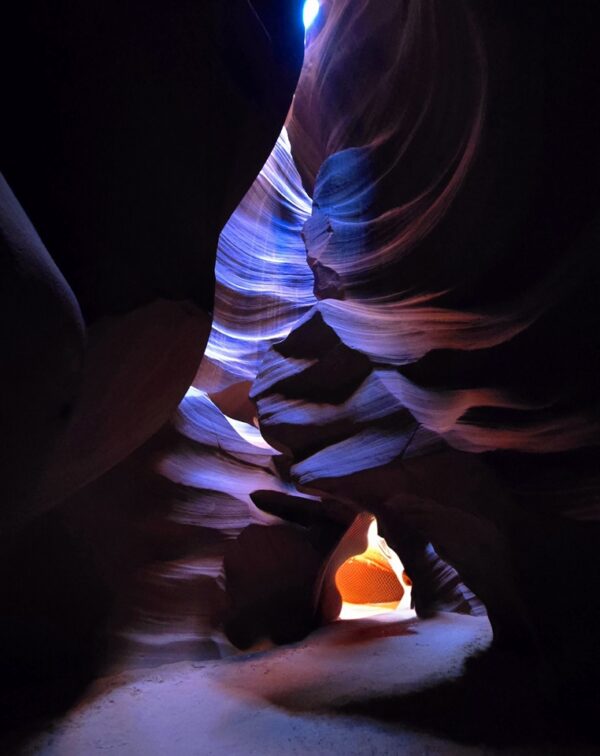
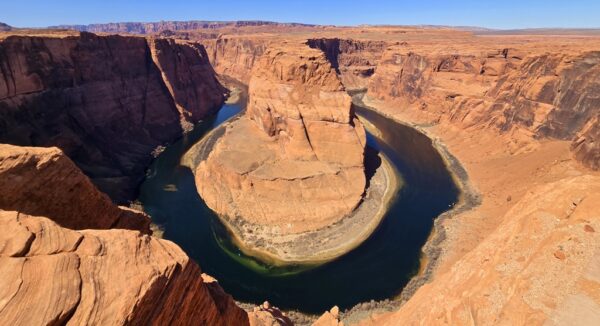
We’ve been wanting to go to Antelope Canyon for years, so when we were 3 hours away in Sedona, we decided it was worth taking a very long day trip (~6 hours of driving round trip) to visit. There are two parts to Antelope – the Upper Antelope Canyon and the Lower Antelope Canyon. You must take a tour to get into both sections and there are different tour companies that cover each part (i.e. none of the tour companies cover both but you can book both using the link above). In between tours, we also make a very quick stop at Horseshoe Bend which has become a famous Instagram site in recent years.
Upper Antelope Canyon
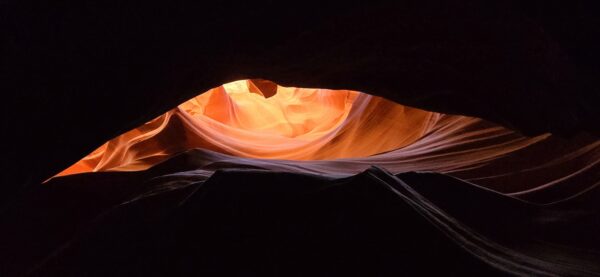
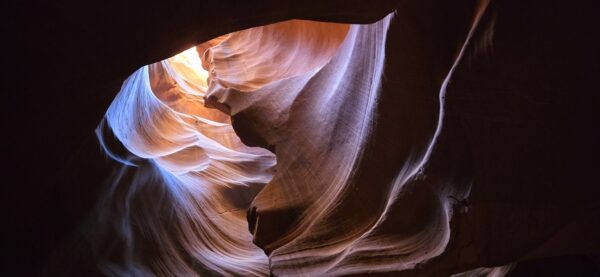
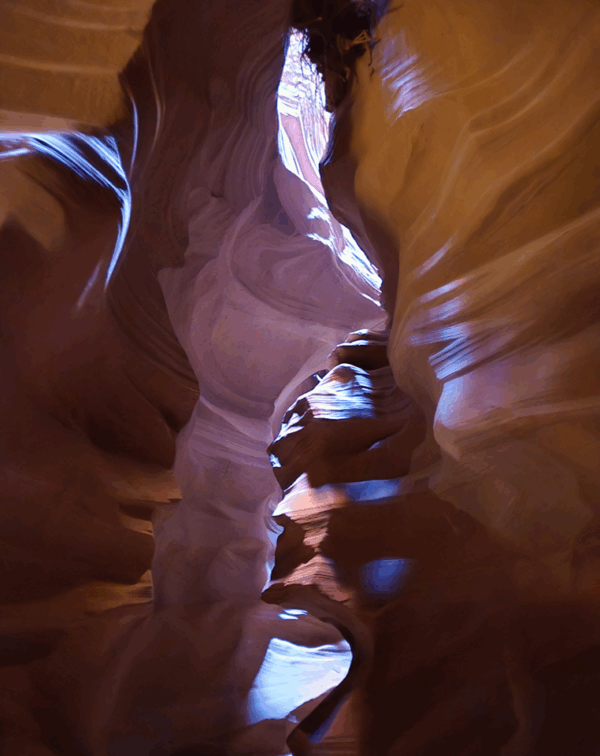
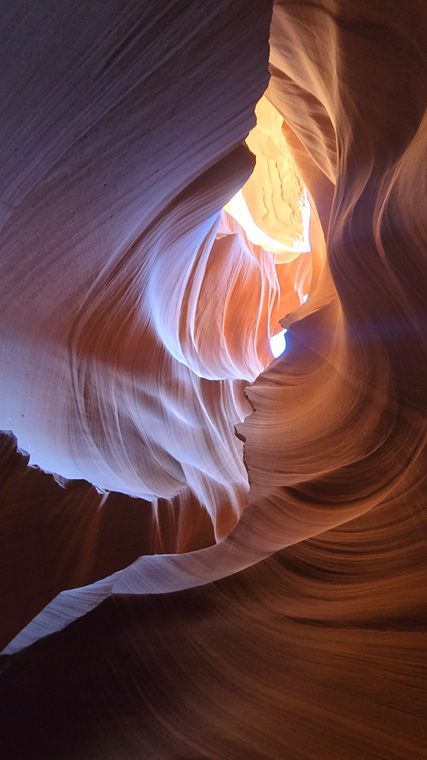
We took a mid-morning tour here from 10:20-11:50am. You will meet your tour either in the town of Page or just outside the town and you’ll be driven back to the Upper Canyon in vans. The sun wasn’t fully up yet which may mean some of our views could have been slightly better, but it was still pretty awesome. The tour guides all will take a ton of pictures for you, and they know where all the best shots and lighting are and also know the best camera settings to use.
Lower Antelope Canyon
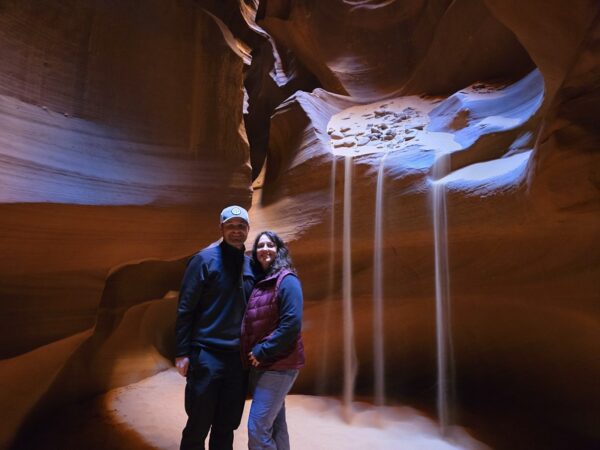
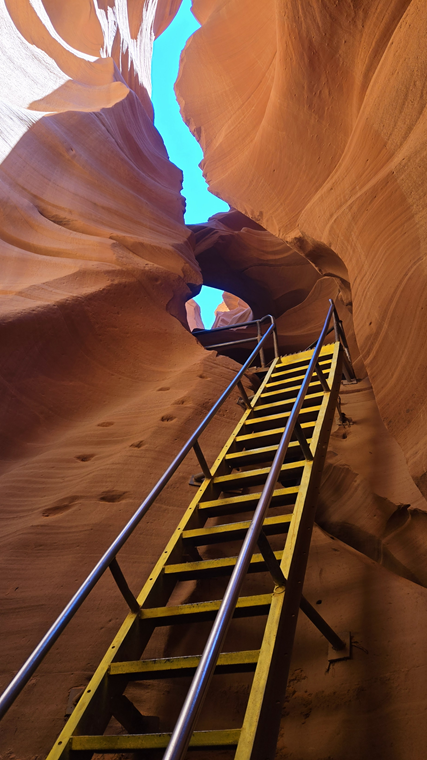
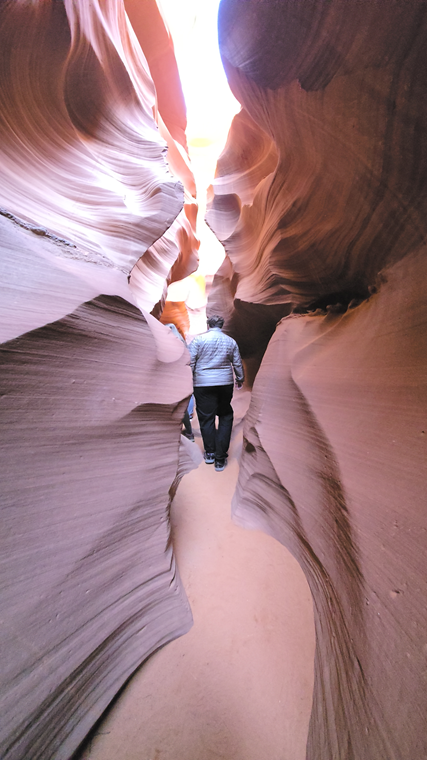
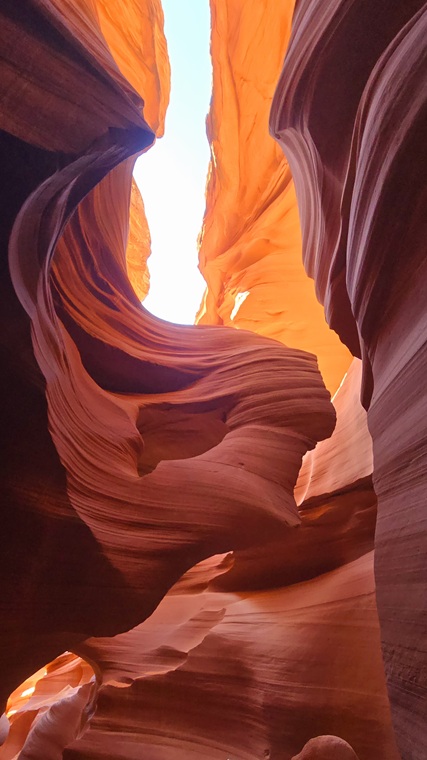
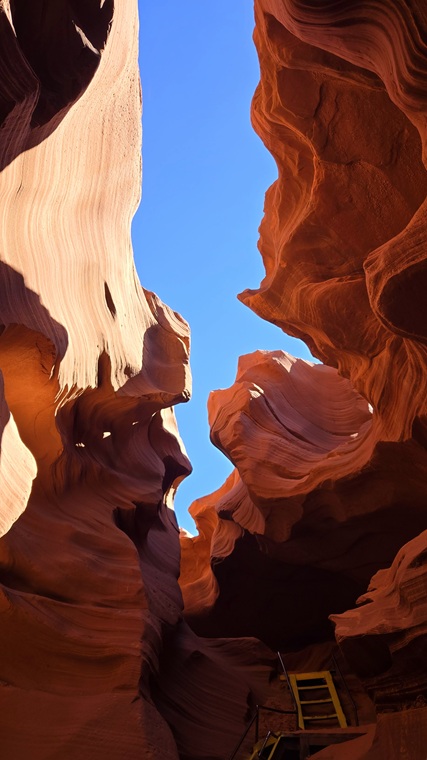
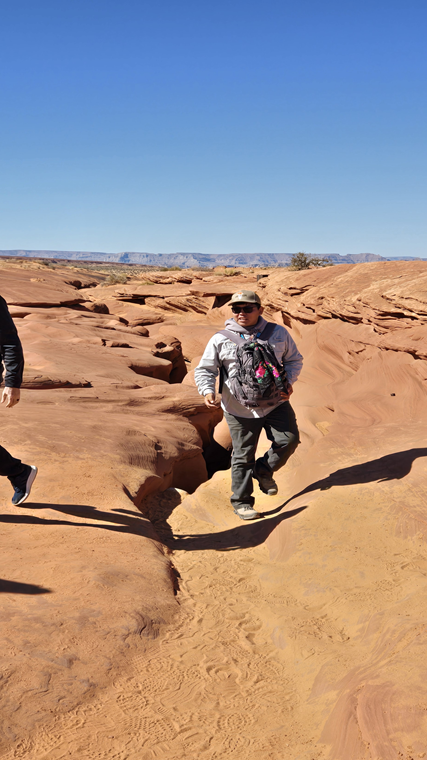
We took an afternoon tour here from 1:45-3:15pm. This tour was significantly cheaper than the Upper Canyon as they don’t have to transport you. You pull into the parking lot, check in, and they walk you back on your tour to the entrance. We absolutely loved this tour. The lighting was incredible, and we got so many great photos of the canyon walls and ourselves. If you only had to choose one part of Antelope Canyon, we’d recommend this one. One caution, the lower canyon is much narrower with areas that you need to maneuver through and has multiple stairs/ladders that must be climbed. The upper canyon would be better for anyone that has any mobility concerns.
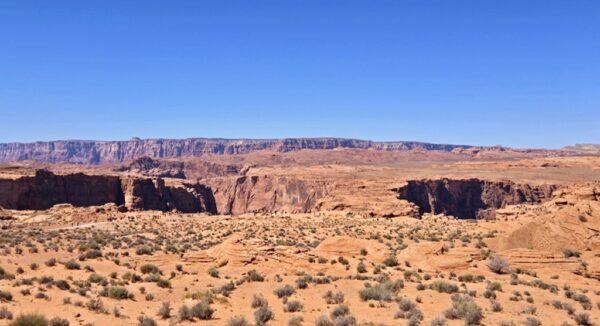
This is a short 10–15-minute drive from Page, AZ. You’ll have to pay about $10 to park (your national park pass doesn’t count here) and then you’ll walk about a mile round trip to the viewpoint of Horseshoe Bend. It is incredibly crowded, so it is hard to find a spot to take a picture without having arms or heads popping in. There are also several off-trail spots that people head to try and get the best photo here. We stopped here very quickly between canyon tours, took some pictures, and then headed back to town. If you aren’t in a hurry and the weather is nice, it would be a good spot for a picnic lunch.

